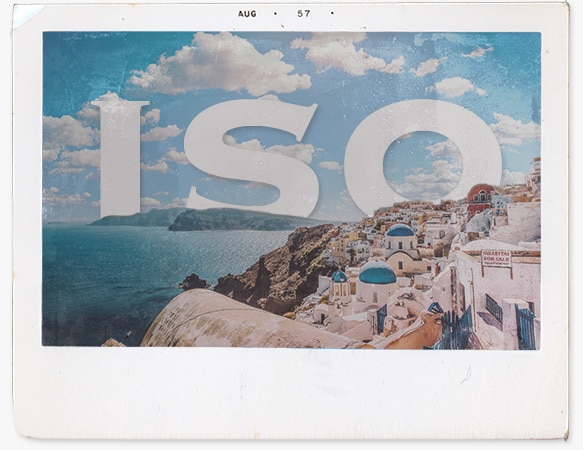
Discover Which ISO To Use & When
Subscribe
With dozens of ISO setting options, which one should you use and when to find out, continue reading.
If you are ready, let’s do it. Unlike your aperture and shutter speed, ISO does not provide any creative options.
Instead, it is used to complement the shutter speed and aperture.
So, you can use those two settings to achieve your creative vision.
If you have a specific aperture and shutter speed in mind for a particular photo and do not have enough light to achieve it, then you’ll adjust your ISO to give you more light.
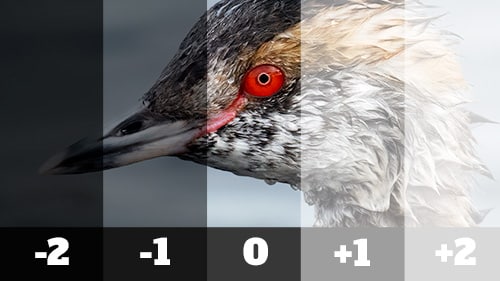
Remember, ISO amplifies the existing light, which gives you more light.
But as you probably also remember, the higher the iso, the more digital noise is included in your image.
My number one recommendation is always to use the lowest ISO setting possible.
Only when you can’t physically add more light, like when you are off camera or flashing with a strobe or even candles, will you amplify the light with a higher ISO number?
Here are some guidelines to get you started since it’s impossible to give you exact settings for specific lighting situations since the possibilities are infinite.
All right, so when shooting outdoors on a bright sunny day, you’ll want to use the lowest ISO available on your camera, like 100 or 200.
It all depends on your specific camera.
You might have to use ISO 400 to 800 if it’s partly or completely cloudy.
And that depends on how dark the clouds are and how much sunlight they restrict.
If you’re shooting indoors, you might have to use ISO 800 to 1600 or higher, depending on how dark it is.
Alright, so the following information will be critical for the upcoming tutorials, and that’s because you will grab your camera and start shooting.
But first, you need to grab your camera manual to determine if you have a specific feature built into your camera.
And that is something called auto iso.
So, auto ISO will make it easier to start taking photos now without worrying about which ISO number to use since your camera will choose the ISO for you automagically.
However, I must warn you that it could be better, and sometimes you may have inadequate exposure.
In future tutorials, you’ll learn about exposure, metering exposure compensation,
Speaker 1 00:02:58
And more to get the correct exposure if your camera doesn’t do so automatically.
Now, if you have auto iso, refer to your camera manual to learn how to set it up, and here’s how it works.
Depending on your camera, you should be able to set the maximum ISO setting, which will minimize the amount of digital noise based on your choice.
Also, you can set the minimum shutter speed depending on your camera.
So, setting the minimum shutter speed will ensure your camera doesn’t choose a speed that will cause images to be blurry.
More on that coming up soon.
If you do not have auto ISO, refer to the guidelines provided earlier when you continue with the following tutorials, which will start with the creative side of Aperture.
So, if you are ready to elevate your photographic skills even more, click right there to get started.