3 HDR photo editing MISTAKES You’re Making & how to FIX
Subscribe
In today’s photo editing tutorial, regardless of your editing software, you’ll discover the top 3 editing mistakes I see with HDR images and some bonus editing tips.

Plus, if you stay until the end, I’ll share the biggest problem with creating HDR images, whether you’re handholding or using a tripod, and how to fix it.

My name is Chris Parker, and I’m a professional Landscape and Wildlife photographer.

I create weekly videos with pro tips for improving your photography and editing skills. Subscribe to see more.
HDR Photo Tips
Most of the HDR images I create are done with a tripod. However, for this location, which is Lower Antelope Canyon in Arizona, tripods were not allowed.

Plus, our group had around fifteen people, and another group of the same size was behind us.

So, it was challenging enough with the large Dynamic Range of the canyon.

So, I had to get creative. First, I went with a high ISO of 1600, and I’m comfortable with the amount of noise my Nikon z8 creates at that level.

My next decision was depth-of-field; most images I created here were at an aperture of f/11. However, for some reason, I chose f/8 for this one.

And I used my 20mm lens to create four different exposures.

The first was at 1/125th of a second, and I doubled the exposure for each additional shot. In hindsight, I probably should have created one more at 1/60th of a second for the deep shadows.

Fortunately, with today’s AI technology, I was able to recover many of the details in the shadows and remove the digital noise that appeared after brightening those tonal values.

I’ll share the steps I used to fix the digital noise and enhance the details later.

First, some of you have questions about creating an HDR image without a tripod. For example, how do you line them up during the editing process?

So, let me share the first step, which starts in-camera.
Human Tripod
So, the technique I used was pretty simple: when you don’t have a tripod, you become the tripod.

Or find a surface to place your camera on, like a wall or the ground.

For these images, I had to become the tripod.

So, tighten your elbows, press your forehead against the Viewfinder, and place your hand under your lens. When possible, I would lean against the canyon wall for additional stability.

But for a lot of compositions, that wasn’t possible.

So, I had to create multiple exposures fast, which is the hard part of Bracketing your exposures without a tripod.

If multiple images you create are too far off, your editing software might not be able to align them, or if it does, it can cause a huge problem we’ll tackle at the end.

Now, most digital cameras offer an Auto Exposure Bracketing feature, which allows you to fire off multiple shots in a second or two. This minimizes any movement and makes it easier for your software to align each image.

So, look for Auto Bracketing, BKT, or AEB, which stands for Auto Exposure Bracketing, in your menu or somewhere on the body.

You can then choose between three or more exposures and ensure you’re set to Continuous shooting mode.

Now, all you have to do is get into position, compose, and hold the shutter release button down, and your camera will automagically change the camera settings for each exposure.
HDR Merge
Ok, now you have to merge those images with your editing software of choice.
Most editing apps, such as Lightroom, Affinity Photo, Luminar Neo, and others, have what is known as HDR Merge, or it might be called HDR Photo Merge.
Either way, you’ll select all the exposures and activate Photo Merge. In Lightroom, you can right-click on the images and choose HDR Merge from here.
If you’re not using Lightroom, I’ve included guides for merging HDR images for other software in the description below.
Depending on your software, you may have features similar to these and possibly more.
But, for the basics, you should have an Auto Align, Deghost, and possibly an Auto Settings feature.
So, you should use the Auto Align feature to let your editing software automagically align your multiple exposures.
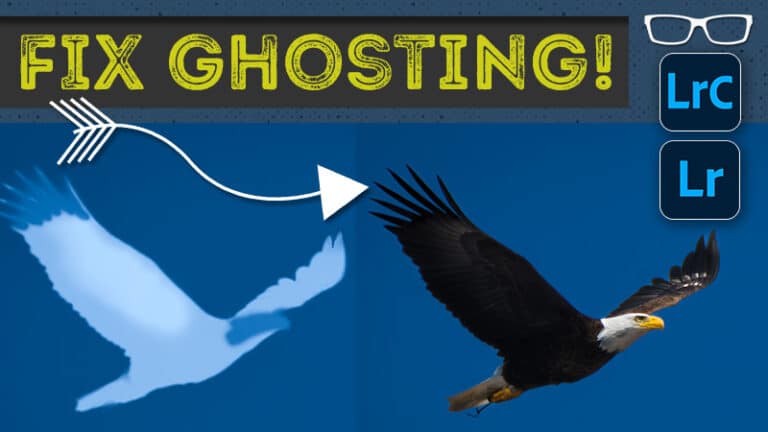
However, if you move slightly while handholding, you’ll get what looks like a ghost or ghosting effect.
But you can still get the ghosting effect when using a tripod.
So, since I did a fantastic job with this image, I don’t have any de-ghosting.
Later, we’ll switch to another image with ghosting, and I’ll show you what it looks like, how to fix it, and what happens if you don’t.
Next, you have to decide if you want Lightroom or whatever you’re using to Automagically edit your image with AI technology.
I like to use this feature as a starting point since it’s non-destructive.
However, it's entirely up to you to decide whether to use it or not, depending on how you prefer to edit.
In Lightroom, I like to create a stack to organize my library of images.
So, let’s Merge them and get into the mistakes to avoid when editing.
Stack
So, real quick, the images are now grouped together or stacked.

When you click on this number, it will collapse them all into a single view; clicking again will expand and show all the images.
HDR Edit
After merging, you’ll get a DNG file in Lightroom, which causes a huge problem that I’ll explain in a moment.

However, there is another problem you may notice that is easy to fix. Your software may automagically fix it.

So, in the Crop Tool, you’ll notice white space to the left and top if I go to As Shot.

This happens when your images don’t line up perfectly, and your editing software has to compromise and bend or tweak the images so that they do. In Lightroom, it auto-crops out the empty areas.
Mistake #1
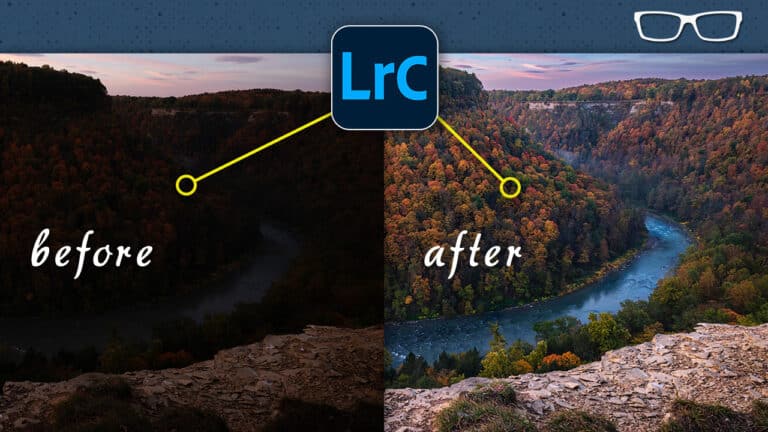
Alright, now let’s take a look at the number one mistake when it comes to editing HDR images.
Each image has the same edits applied except for one key edit.
And as you can see, each image looks different. The first and second are very close.
However, the second has more contrast, and the colors are more saturated and vibrant, which makes it look fake. The third image is even worse.
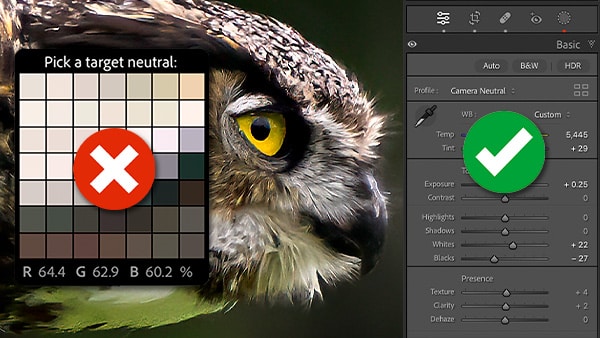
HDR images get a bad rap because of the over-processed colors and contrast, and choosing the wrong Profile is part of the problem.
For this final edit, I used the Camera Neutral Profile. The second image has Adobe Color, and the third uses the Landscape profile.
Depending on your software, it might default to Adobe Color.
Or, if you shoot primarily landscapes, you might have chosen that as your Profile in-camera, and if you set your software to use that as a default, then your HDR images will look unnatural.
If you’d like to learn more about Camera Profiles, why I recommend using a Neutral profile, and how to set them up as the default during the import process, let me know in the comments.
Now, another question you might have is, can I tone down the color saturation, vibrancy, and contrast while editing?
Yes, yes, you can.
However, starting with Neutral requires less editing and will help minimize over-editing. So, choosing the right Profile makes editing HDR easier.
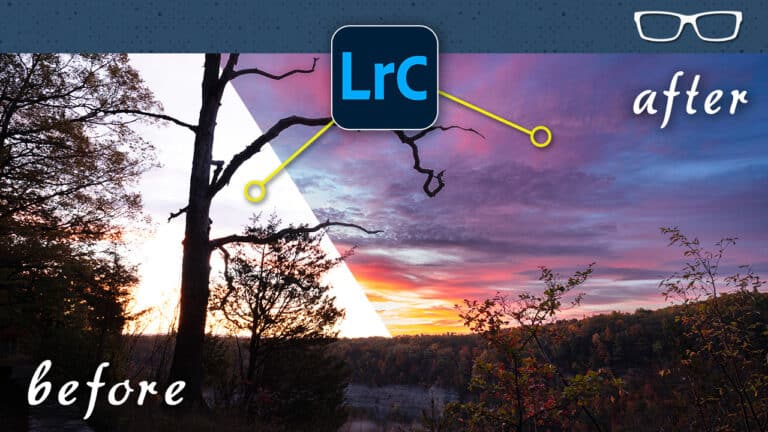
Mistake #2
That said, you can still end up with an over-processed image as you edit the file.
So, let’s go over the edits I used for this one and some pro tips to avoid… over-editing.
When editing HDR images, I find the best results are due to an old say: Less is More.
This image included the least edits I’ve done for any of my HDR images.
The only adjustments I’ve made are the Basics or the Tonal Values.
And you may remember that when I merged the files, I used the Auto Edit feature.
These are the same settings you’ll get when you click on the Auto Edit button, and I’m confident your editing software of choice also has an AI auto feature, so it’s a good starting point.
Three settings seem to always be adjusted with the AI editing feature: contrast, vibrancy, and saturation.
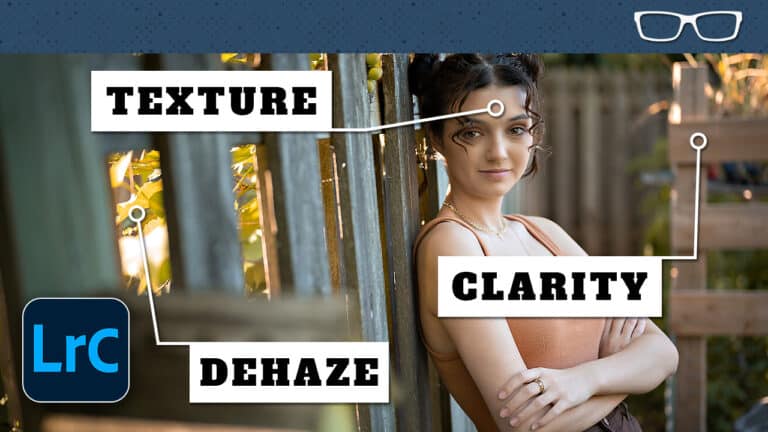
I’m not a big fan of the Contrast slider and prefer to use the Texture, Clarity, Dehaze, and sometimes the Tone Curve to add contrast.
So, I’m going to double-click on Contrast to reset that.
The same is true for Vibrance and Saturation since both boost the colors unnaturally, which is a sure sign of an image that has been over-edited, at least for this HDR image.
Texture, Clarity, and Dehaze are great ways to precisely add contrast between different types of detail, and they also give the impression that the image is sharper.
However, if you go too far, it will look unnatural.
So, let’s reset both of these, and I’ll explain why I used them.
At this point, I find the areas in the shade to be too dark. One option is to use a Mask to target the brightness where I want it.
Which is something I do for the majority of my images.
However, Masking those areas cannot be done automagically with the AI Masks since there is no defined subject.
So, using a brush and making sure I stay within the confines of the Shadow will be time-consuming.
Instead, the Clarity adjustment will add contrast along the mid-size details, increase sharpness, and make those details brighter simultaneously. You’ll see how the image gets brighter in some areas that the Clarity is targeting.
So, I could only brighten the Tonal Values so much before I started to clip the Whites and Highlights.
These three options don’t target a Tone Value. Instead, they target the details in your image, based on their size.
Dehaze will boost the contrast more than the other two since it targets larger textures, and the colors will also become more vibrant.
That is why you have to be careful not to overdo it with, well, actually, any of them.
Mistake #3
Now, let's circle back to Ghosting, which is the biggest mistake if neglected because it’s going to lower the quality of your image.

Previously, I showed you what happens when your software Auto Aligns your image and why you need to crop it.

In this image, during the alignment process, each image had to be adjusted greatly to try to align all the details.

However, I moved too much while shooting, and the images couldn’t be aligned properly.

In this image, you can see two dark anomalies. Those are people.

Because I used a long shutter speed of 15 seconds and they didn’t stand still, they looked like ghosts.

The same happens when you have multiple images that don’t line up.

Without the help of your editing software to fix it, you’ll end up with a blue line along the edges, like this, or it will create a ghost-like effect.

The majority of HDR merging software has a built-in de-ghosting filter, and depending on the severity of the ghosting, it will require more or less intensity.

The red overlay shows where ghosting will occur if you don’t fix it.

Most of the time, I use the maximum setting since it doesn’t alter the image in any way if there isn’t as much ghosting.

However, if I select the lowest setting, you’ll notice the de-ghosting effect isn’t as aggressive. It will only fix it within this area compared to a larger portion with the High option.

And let’s merge them with those settings and compare the results.

As you can see, the image was fixed and doesn’t have the ghosting or the blue line.
Denoise
In Lightroom, if I want to use the AI Denoise feature, you can’t, at least for DNG and JPG files.

Watch this video tutorial next to learn my preferred method for removing digital noise and sharpening, which I use on all my images.