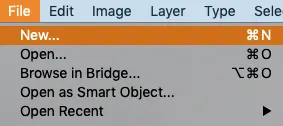
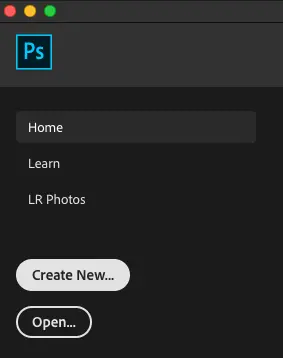
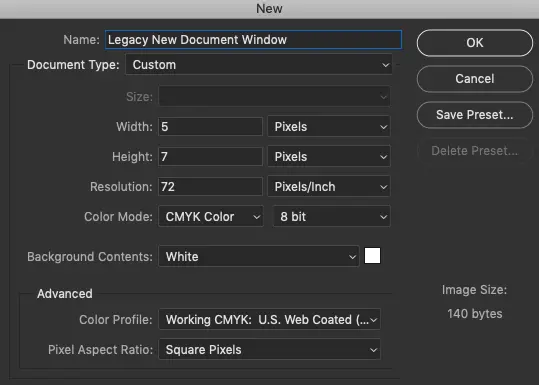
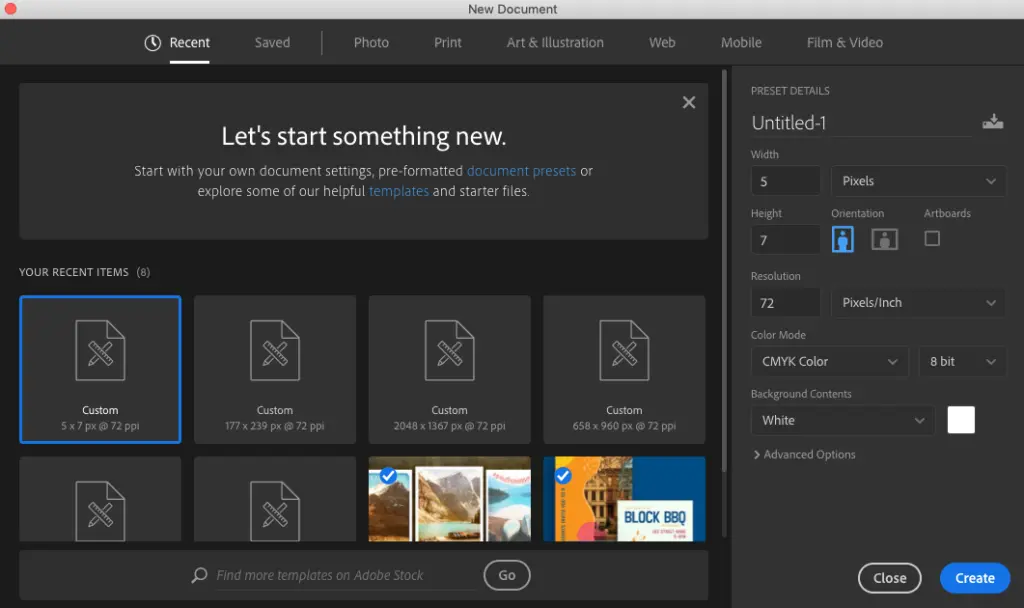
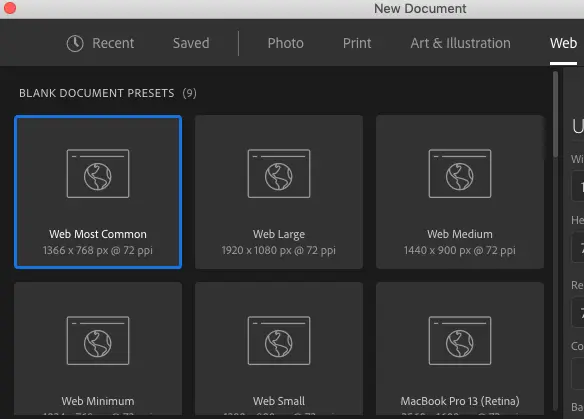
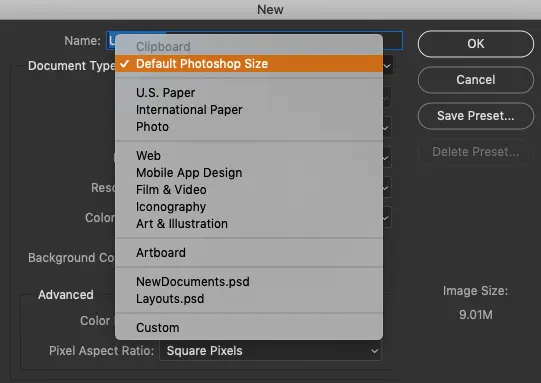
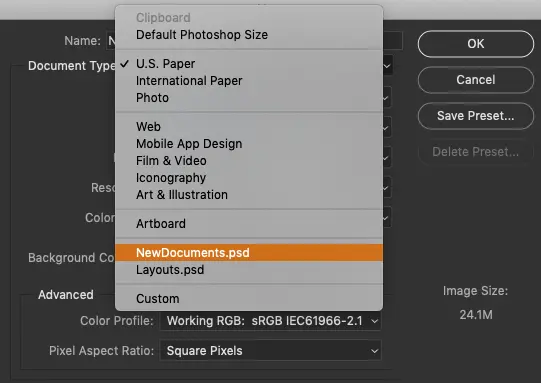
Creating a Custom New Document
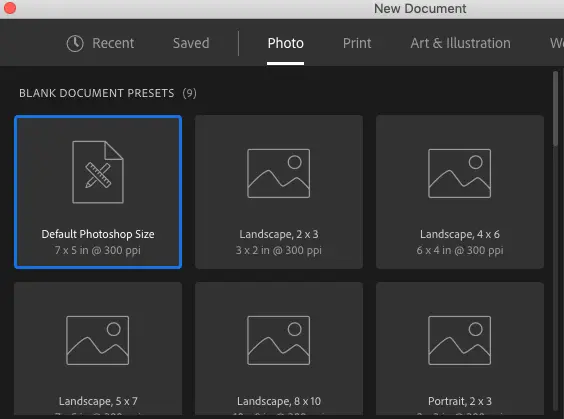
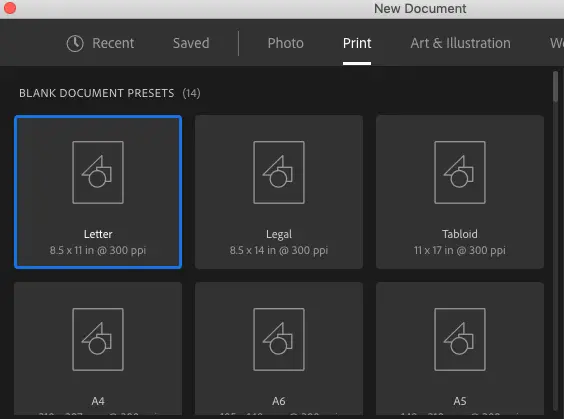
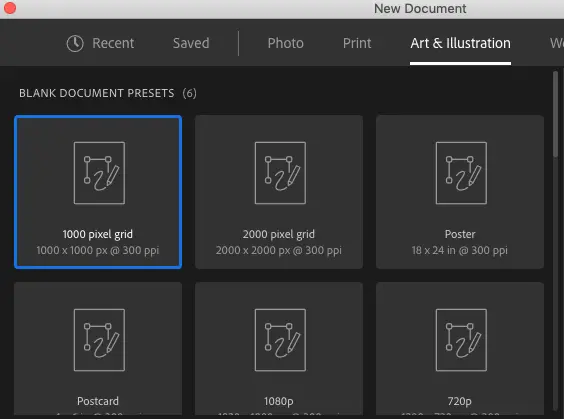
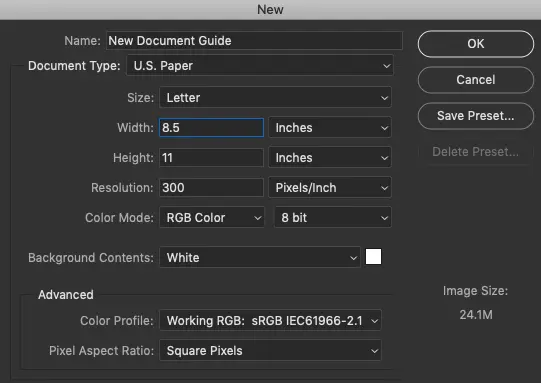
Do you know the exact dimensions needed for a specific project? Perfect.
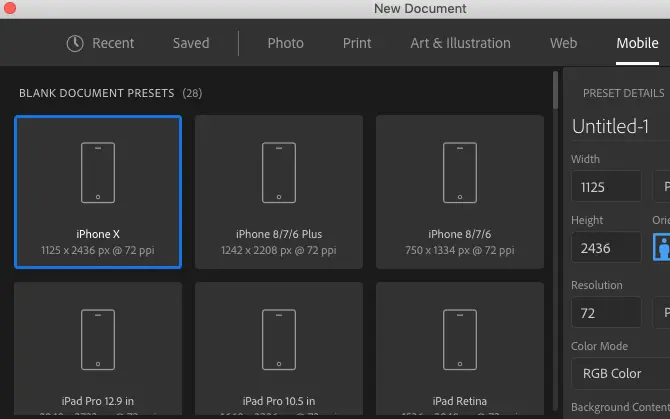
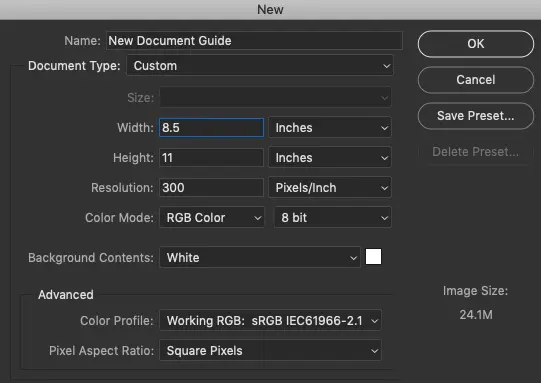
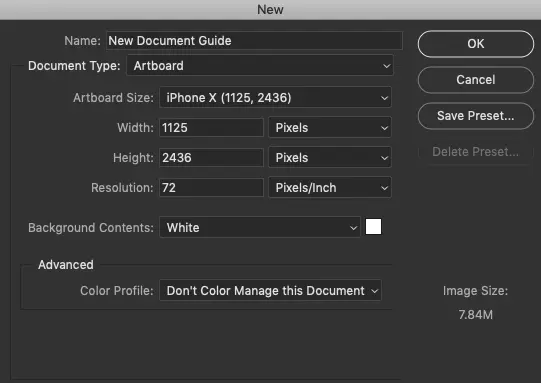
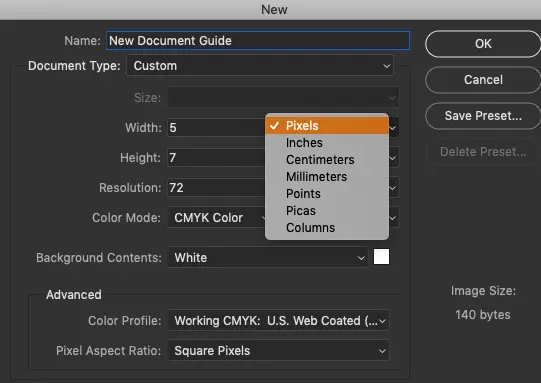
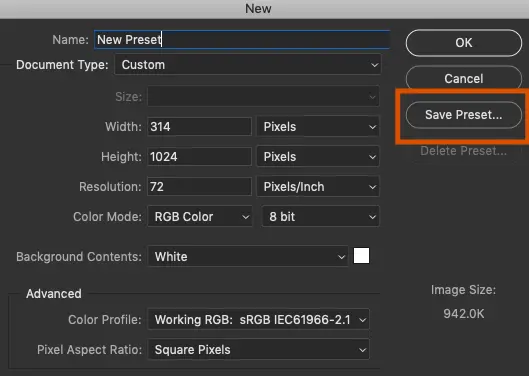
Just type in the Width & Height as needed. Oh, and don’t forget to select Pixels, Inches, or any other measurement you require.
Just click on the drop-down menu to the right of (the input box) Width & Height.
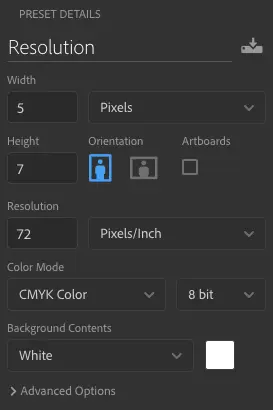
Resolution
Resolution is also an essential requirement for your new document. Get it wrong, and you may have to start your project over.
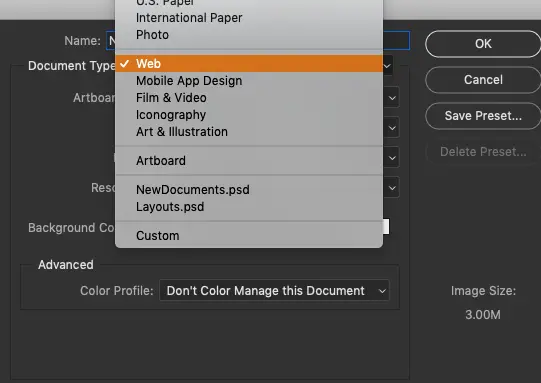
Hint: Web-based projects should be set to 72 dpi. Print-based projects should be set to 300 dpi. In most cases.
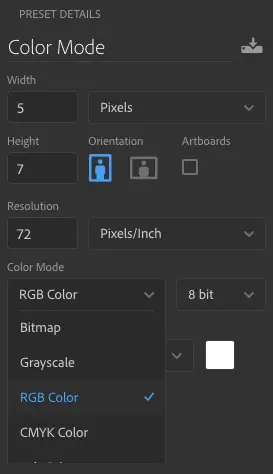
Color Mode
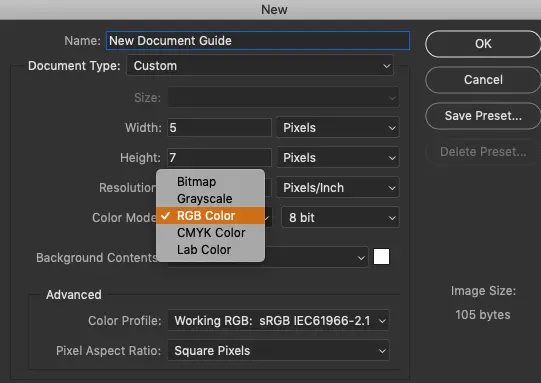
5 different options to choose from. Which one should you choose? Well, it depends on the type of project.
CMYK should be selected if your document will be printed via a printing press.
RGB Color should be used for your other types of projects.
The other 3 projects you may rarely use. In fact, in 28 years I’ve never used them!
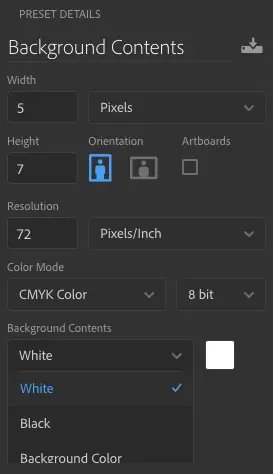
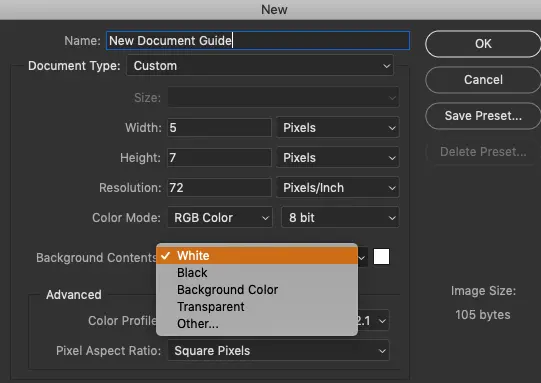
Background Contents
The default option is set to White. In other words, your new canvas color will be white.
Desire a different color? No worries. Just click on the drop-down menu and choose from one of the 4 options.
Or, if you need a specific color, click on “Other.” This will bring up the Photoshop Color Picker window.
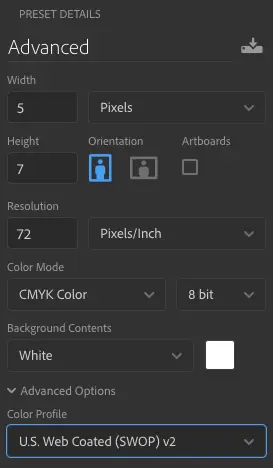
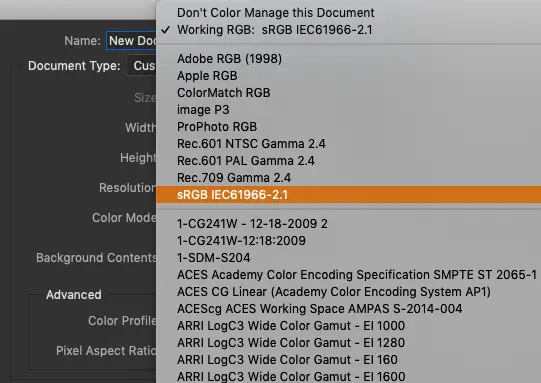
Advanced
Here, you’ll find, well, advanced options.
Until you become more familiar with Color Profiles and Pixel Aspect Ratios, the default options are sufficient.