Table of Contents
Lightroom Quick Tip #3
In this Lightroom quick tip tutorial, you’ll learn the difference between Saturation and Vibrance.
The best way to learn is to see what’s happening visually.
Either watch the video above or grab one of your images and follow along…
One
Two
In the Basics panel, move the Saturation slider all the way to the left (-100).
This will remove ALL of the colors in your image. You’re now left with a B&W image.
Three
Now, move the Saturation slider all the way to the right (+100). This increases the Saturation.
When applying +100, you’re subject(s) may now look like Oompa Loompas.
Not a good look!
Four
Move the Vibrance slider all the way to the left (-100).
Unlike Saturation, there is still some color left in the image.
This reminds me of an old school, vintage look.
And I’ll often use Vibrance in this way to achieve that style.
Five
This time, move the Vibrance slider all the way to the right (+100).
Again, unlike Saturation, the entire image is not being affected.
So, what is going on?
Well, check this out…
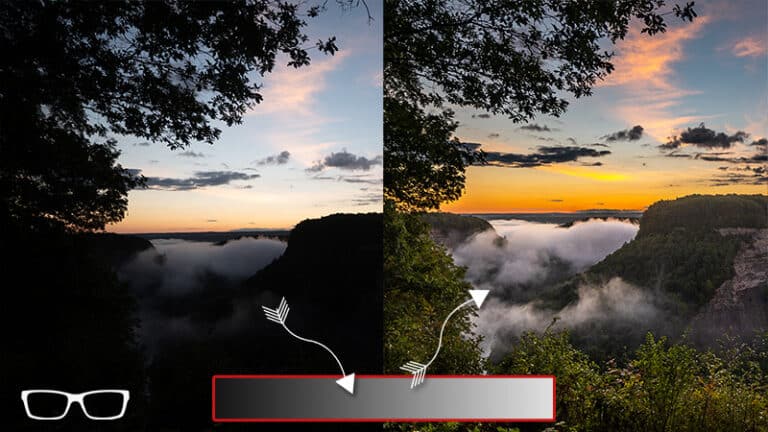
Saturation vs. Vibrance...
Here is the BIG difference between Saturation & Vibrance…
Saturation removes (or adds to) all of the colors in the Highlights, Mid-Tones, and Shadows.
Vibrance, on the other hand, only removes (or adds to) the colors in the Highlights and Shadows.
The Mid-tones are not affected.
This is why, when you move the Vibrance slider all the way to the right, you are left with colors just in the Mid-tones.