Table of Contents
Lightroom Quick Tip #8
We’re back with another quick Lightroom tip all about the HSL panel, again.
Why?
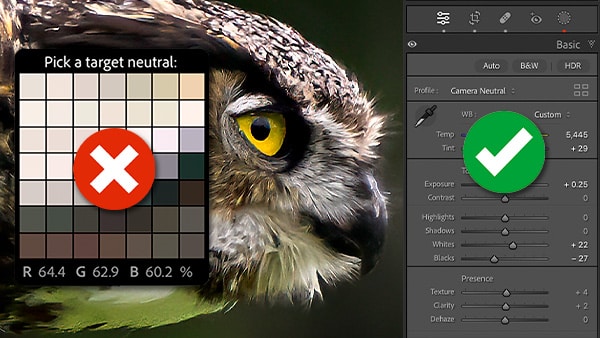
Well, there’s a little tool (semi-hidden) in the HSL panel that will help you precisely target colors in your image… vs. “eye-balling” it with just the sliders.
Intrigued? Good.
Let me show you this impressive little feature of HSL…
the Target Adjustment Tool
Take a closer look at your HSL panel, and you’ll notice a tiny circle to the far left of each section name.
Hover your mouse over it, and the icon changes.
Holy, moly Batman!
We have a new tool to help us achieve our creative vision, faster…
…to use it… click on the circle next to one of the HSL options…
- If you click on the one next to Hue, you will change the colors you target.
- Choose the icon next to Saturation will, well, adjust the Saturation.
- Then, the icon next to Luminance will increase or decrease the brightness of colors targeted.
- But, you already knew this from our previous quick tip.
For this exercise, let’s change some colors.
- Activate the Target Tool icon next to Hue.
- Then, move your cursor over the color(s) you want to change.
- Click & move your cursor up to move the color sliders to the right
- Click & move your cursor down to move the color sliders to the left
How cool is that!
Photoshop not required…
The next time you want to change a color, consider the Target Tool from the HSL panel.
Did you watch the video tutorial above? Why not?
It has some more tips for fine-tuning your edits, for portraits.
Like, how to reduce over-saturated skin tones.
Check it out. It’s only 2 minutes.


