Play Video
Subscribe
Table of Contents
Lightroom Quick Tip #9
Today, you’ll learn about 1 of the most often overlooked tools in Lightroom… the Lens Corrections panel.
Find out why you need to apply this edit to ALL of your photos, apply with 1 click or better yet, how to auto-apply during import, and more…
Lens Corrections
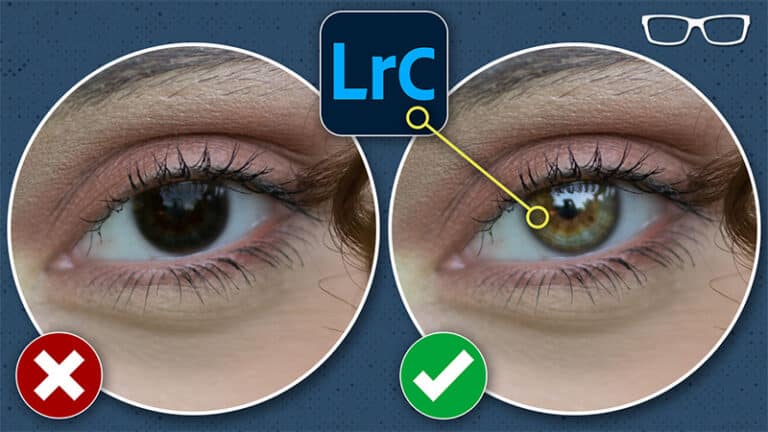
You may or may not know this: all lenses add some distortion to your photos.
This could be in the form of vignetting (around the corners) or distortion in general or both.
Adobe has created lens profiles for the majority of lenses on the market.
Based on these profiles, Lightroom will fix the vignetting and/or distortions, automagically!
If not done correctly to your liking, you can manually adjust the settings to refine the fixing of the lens distortion further.
How to Easily Fix Lens Distortion
There are 2 main ways to fix lens distortion automatically…
- In the Lens Corrections panel, select “Enable Profile Corrections.”
- you can then further refine the “fix” via the sliders or select the “Manual” tab to Defringe color distortions.
- Create a Develop Preset, with the Lens Corrections “enable” option turned on and apply during import.