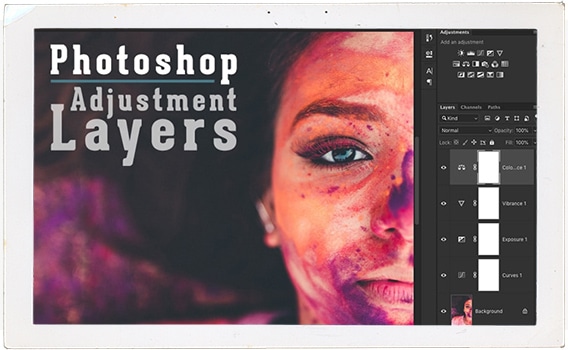
“A Photoshop adjustment layer applies color and tonal adjustments to your image without permanently changing pixel values!”
Destructive or Non-Destructive Editing?
Take a close look at both of the following images…
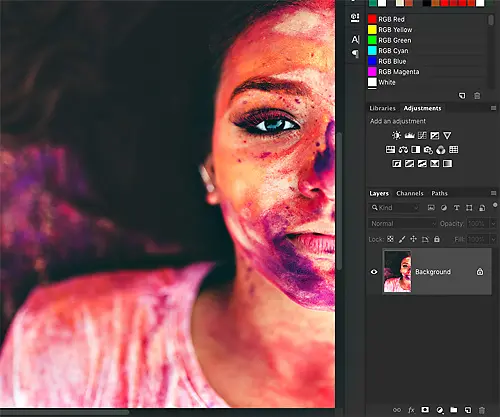
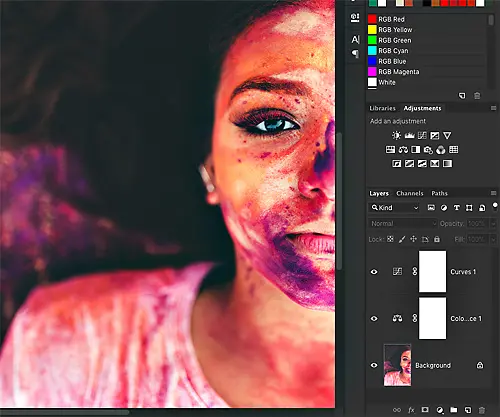
The edits are identical.
However, one is known as Destructive Editing, and the other is known as Non-Destructive Editing.
What’s the difference and which one should you apply to your edits?
01
Non-destructive editing allows you to make edits, and after saving, you’ll be able to adjust the edits at a later date.
02
If you use destructive editing, make a mistake (save and close the file) and then, at a time, realize the error… it’s too late!
You’ll be unable to undo your mistake (s).
Even worse, if you applied destructive editing on the original file (and don’t have a backup or copy of the original) then, the mistakes are permanent.
For obvious reasons, I recommend using Adjustment Layers when editing in Photoshop.
Look at both images again.
Do you know which one is destructive and which one is non-destructive?
HINT: the layers panel (in the images above) shows which is which.
You can access the Adjustment Layers, in Photoshop, either via the Menu or via the Adjustment Layers panel.
Menu: go to Layer > New Adjustment Layer
Adjustment Layer panel: go to Window > Adjustment
Also, you’re not limited to just one Adjustment Layer. You can add as many as needed to fulfill your creative vision.
Plus, you can re-arrange the order of the Adjustment Layers, adjust the opacity, and more to fine-tune your edit.


