What Is Shutter Priority Mode & How To Use For Creative Photos
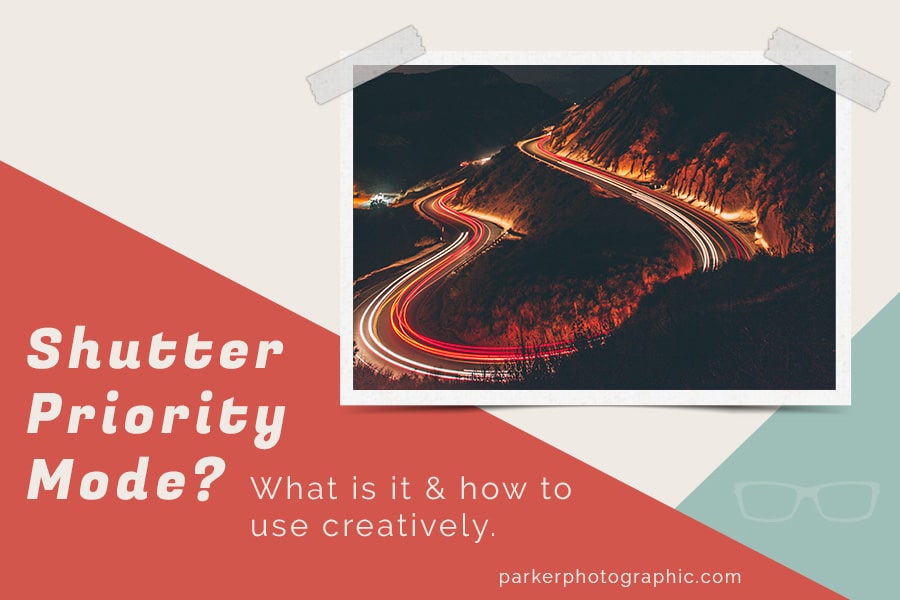
Cover photo by Alex Montes
When you first start off in photography, you have so much to learn… aperture, shutter speeds, ISO, composition, and white balance, to name a few.
To make matters worse, you read that manual mode provides full creative control. Which it does. However, when starting out, shooting in manual can be overwhelming.
There’s an easy solution that also provides you with some creative control, and that’s by using shutter priority mode!
It’s not just for newbies either.
Sometimes pro photographers use it too. Especially when they’re in a hurry or have a fast moving subject in front of them.
Let’s find out what shutter priority mode is and how to use it creatively.
Table of Contents
the “Shutter”
Before we delve into the shutter priority mode, let’s take a quick look at the “shutter.”
The shutter resides inside of your camera just in front of the sensor. The shutter is mechanical and controls how much light is allowed to pass through to your sensor.
In a way, the shutter allows you to paint with light. How much light is up to you and the needs for your final image.
You can set the shutter speed to stay open for fractions of a second or in full seconds from one or longer durations.
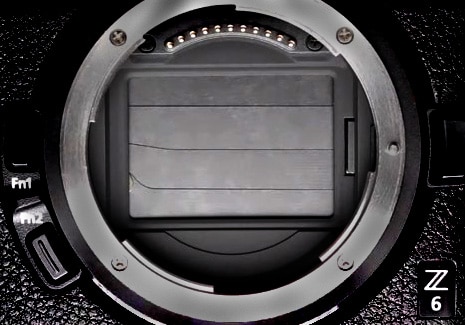
The shutter is currently closed and blocking the sensor from capturing your image.
Simulation of the shutter opening when you press the “shutter” release button.
What Is Shutter Priority Mode?
Shutter priority allows you to choose the speed required for your desired outcome and automatically selects the aperture. The aperture your camera selects will be based on what it thinks is necessary for a well-balanced exposure.
the Creative Side To Shutter Speeds
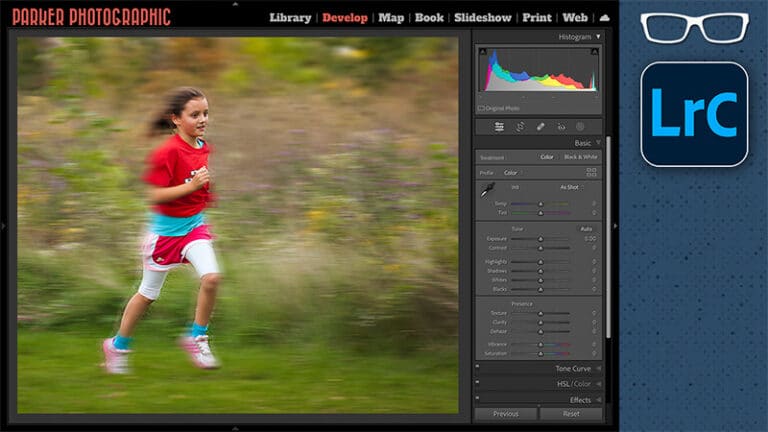
There’s a creative side to the shutter speed that allows you to freeze the action or blur the movement.
This freezing or blurring depends on the speed of the motion in front of you.
The quicker the action, the faster the shutter speed required to freeze the movement.
If the shutter speed is not fast enough, the action will be blurred.
So, do you want to freeze or blur the action?
This is one of the first questions you’ll need to decide on when using this automatic mode.
There are others as well, and we’ll cover those soon.
But first…
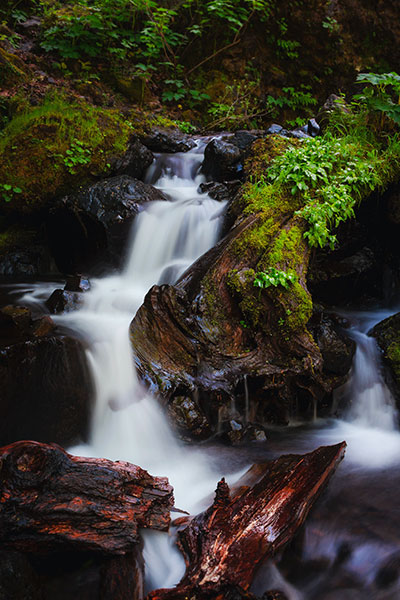
Creating a silky, smooth effect on running water can be achieved with a slow shutter speed. This is due to the slower shutter speed causing the “action” to blur.
The Downside To Shutter Priority
Shutter priority does have some drawbacks. Here are a few things to consider when using it.
Tripod?
Slow speeds are going to require a tripod to help you avoid camera shake. Camera shake occurs when you’re unable to keep the camera steady, and the result is a blurry image.
The general rule is not to use a speed below the focal length of the lens.
For example, a 100mm lens will require a shutter speed no slower than 1/100 of a second. Anything slower (like 1/60) could cause camera shake.
But, this all depends on your ability to hand-hold your camera steadily. Some might be able to hand-hold with a 100mm lens at 1/30 of a second. When in doubt, use a faster shutter speed or use a tripod. If needed, boost your ISO or add more light if possible. This will allow you to use a faster shutter speed.
Not 100% Accurate Exposures
Your camera has a built-in computer that is making creative decisions for you… when you’re using any “auto” option.
It takes the information presented to it when the light enters your lens and decides what to do next.
In the case of shutter priority, it will auto-select the aperture based on what it thinks is a well-balanced exposure.
However, it’s not going to be 100% accurate all the time. The computer can be fooled into thinking the image is over or underexposed and will provide an aperture accordingly.
This may end up providing you with an exposure you weren’t expecting.
There are three viable solutions…
ONE.

Click to enlarge. The original metering mode was fooled by the brightness of the sun and the ice + snow. The result is an underexposed image.

Click to enlarge. Switching from matrix to spot metering mode provided a more balanced exposure. Now the detail in the shadows is visible.
Two.
The second option would be to change the metering mode. The metering mode tells the camera what parts of the scene to determine the overall exposure. Think of it as a “light” calculator. It will calculate the existing light to establish a proper or well-balanced exposure.
You can choose a metering option that will concentrate it’s “calculation” of the light in the center of the scene. Or you can set the metering to the entire scene.
Let’s say you’re shooting a portrait on a bright sunny, wintery day. Currently, your camera is set to Matrix Metering or Evaluative Metering (for Canon). If two-thirds of the image is covered with snow, your camera will most likely underexpose the subject. This is due to the excess brightness of the snow.
To fix this, you can set your metering to the “Spot” mode to calculate the light for the person vs. the snow. Now, you’ll end up with a properly exposed image of your subject. But, your snow may now be overexposed. The solution is to add light onto your subject with external lighting, like an off-camera flash or a strobe.
Three.
Finally, you could switch over to Manual and adjust the shutter speed, aperture, and ISO to get the result you want. This is more advanced and will take time to learn how to adjust all three to get the desired results.
Depth of Field
Since your camera is selecting your aperture, you have no control over the depth of field (DOF). Depth of field increases or decreases the amount of the photo that is tack sharp.
If you’re shooting an object that you want to stand out from the background, you can choose a specific aperture to use a shallow DOF.
Or if you’re shooting a landscape, you might want everything from the foreground to the background to be in focus. In this case, you’ll need to use a large depth of field. This can be achieved with a small aperture like f/11 or f/16.
What should you do if you decide that the DOF is more important than freezing or blurring the action?
One option would be to switch over to aperture priority mode so you can dial in the desired aperture. Another option would be to shoot in full manual.
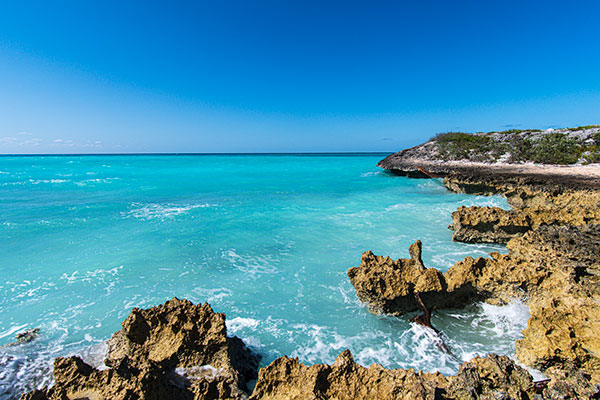
Click to enlarge. A large depth of field was used to ensure both the foreground and background were in focus.
Getting Started With Shutter Priority
Before you start working with shutter priority, there’s another camera setting you need to set up first!
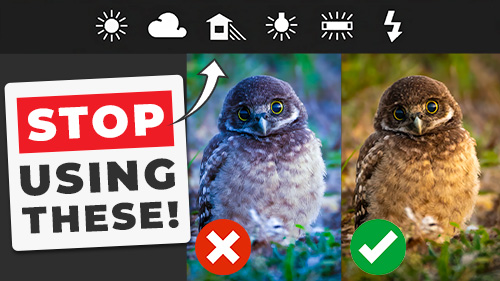
Set Your ISO?
Before you start taking photos, you’ll need to first set your ISO. In general, when the light is very bright, like on a sunny day, you’ll want to use the lowest ISO setting for your camera. This could be ISO 100 or 200.
As the intensity of the light diminishes, you may need to increase the ISO. For sunsets, you may need anywhere from ISO 400 or more.
If you’re unsure what ISO setting to use, have no fear. Some DSLR cameras and mirrorless come with an “auto ISO” setting too!
Check your camera manual to see if you have this option. If so, set it and forget it (for now). If not, use the general guidelines above or, better yet, learn “what is ISO” and how to use it.
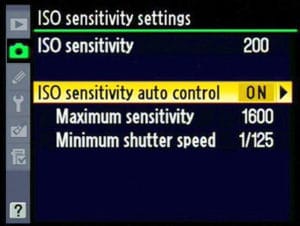
Auto ISO also gives you the option to set the maximum “sensitivity” and the minimum shutter speeds.
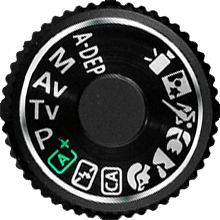
For Canon users, you can set shutter priority mode by selecting the “Tv” option via a dial, button, or within your camera menu.

For Nikon users, you can set the mode by selecting the “S” option via a dial, button, or within your camera menu.
Getting Into Shutter Priority Mode
Now that your ISO is set, you can place your camera in shutter priority by selecting the appropriate setting via the dial or button on your camera. Typically the value to choose is either the letter “S” on Nikon or “Tv” for Canon shooters.
If you shoot Sony or something else, please let me know, in the comments below, what the setting value is for you.
Next, you have to make a decision. Do you want to freeze the action or blur the motion?
Freeze – Use faster shutter speeds. The quicker the action, the quicker the shutter needed to freeze it.
Blur – The slower the shutter speed, the more blurring will occur. A tripod is a must for long exposure photography.
***For my Nikon Z6, I can not set the auto ISO via the ISO dial. However, in the menu, under the Photo Shooting Menu, I found an “ISO sensitivity settings” option that gives me the “auto ISO” setting.
Select the Shutter Speed
Changing shutter speeds is easy on most cameras. You’ll either find a dial in front of or behind the camera where the shutter release button is. Using this wheel allows you to increase or decrease the setting as needed.
Ideal Uses For Shutter Priority
Let’s go over a couple of examples of using this option for different situations.
Long Exposure Photography
Long exposure photography is the art of blurring the action in the scene.
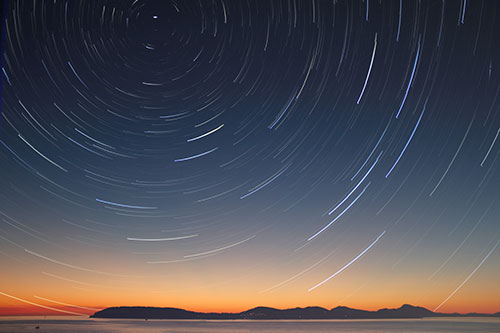
You may have seen photos where the stars are streaking through the sky, tail lights from cars wind through the streets, or the water from a waterfall looks soft, silky, and sleek.
These are all forms of long exposure photography and require, well, a long shutter speed.
Oftentimes to achieve the blur effect you want will require a setting of 1 second or longer. Don’t leave your tripod at home!
If the action is slow, you’re going to need a very, very slow shutter speed to create motion blur.
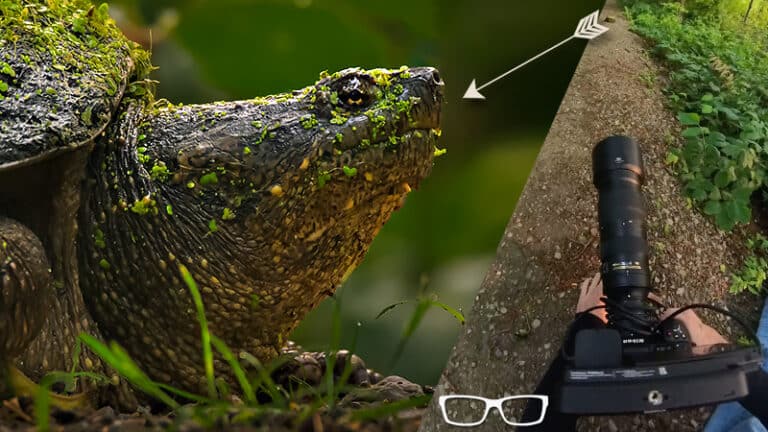
Sports, Wildlife Photography. Or Your Kids Being Kids!
Fast action is going to require a faster shutter speed to freeze the action.
That is if that’s the creative decision you make.
There’s nothing that says you need to use a fast shutter speed for action.
Maybe you want to show the “speed” of the movement as the running back blasts through the hole.
Or showing the quickness of an elk, by blurring the motion, as it races through the forest.
Both of those scenarios might be better suited with a slower shutter speed.
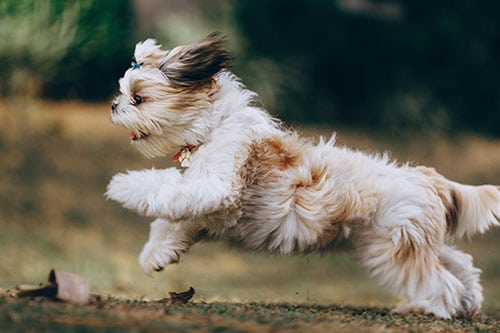
A fast shutter speed is required to freeze the action.
Why Should You Use Shutter Priority Mode?
If you want the full creative control that manual mode gives you but find it too confusing, then shutter priority mode is the perfect trade-off. This camera setting still gives you creative control over freezing the action or blurring it.
Do Professionals Use Shutter Priority Mode?
Yes, yes, they do! In fact, at times, I’ll choose this option when I want to blur or freeze the action, and I don’t want to figure out the aperture.
Shutter Priority FAQs
Now What?
Now that you know what shutter priority mode is and how to use it, it’s time to put your new knowledge into practice!
On your next photoshoot, take several photos, of the same shot, at different speeds. Then, when you’re done, compare the images side-by-side and compare the camera settings. This will give you an excellent insight into the aperture your camera selected based on your set speed.
Plus, you’ll see the creative differences between blurring and freezing the action!
Next, check out why I prefer aperture priority mode.
Here are some more articles to help you create exceptional photos:
What is Aperture in photography?
What is ISO in photography?
What is Shutter Speed in photography?
Check out the 7 key ingredients for light in photography to master light in photography.