Which bird edits better, A or B?
Subscribe
I have three images that I would like to get your opinion on because I edited them in Lightroom and a second time in a different app.
So I have a Sparrow, a black eye Junko, and a Northern Flicker Woodpecker.
And I’d like to know which of the edits you like better. Now, I did ask everyone in my YouTube community about the Sparrow and my Facebook group which one they liked better.
Here’s your chance to let me know which edits you like better.
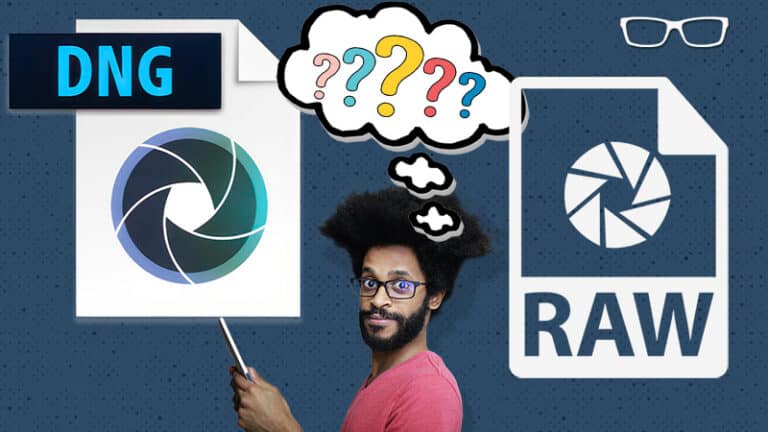
So I have the original raw file here on the left side, and the DNG file is the second edit, and that’s on the right side here. Let’s zoom in here.
Let’s go in a little bit more, right around 200%, and we can see that the second edit here is much cleaner.
So we don’t have any digital noise in the beak or the eyes. And the eye ring is really sharp, and we definitely see a lot more detail in the feathers compared to the original raw edit in Lightroom.
Now, this was shotted ISO 5,000, and if we take a look at the original image before the crop, we can see I did a heavy amount of cropping for this particular image, which kind of contributes to the softness of the image, especially in the Lightroom edit versus the other one.
So let me know which one you prefer, the DNG Sparrow or the NEF Sparrow. Now let’s take a look at the Black-Eyed Junko here.
I will zoom out on this one here because that’s a little bit too much. I need to go down to around 50% because this was upscaled two x.
So you’re definitely going to see a lot more pixelization in the image regardless of how you edit it when you zoom in too much.
So I typically like to zoom in at around 100% for my images.
So I’m gonna do this one at 50, and I believe this one is around 70, which is close enough, but you can see that the DNG file is a lot cleaner.
The background colors are much more vibrant, and there’s no hint of digital noise anywhere in this image.
So the eyes, the beak, all of that is digital noise free and sharper.
And we definitely have more sharpness in the feather and more detail in the feathers. Now it might be slightly over-sharpened, but we can adjust the sharpening with this app.
And I think it is slightly over-sharpened, so I may need to tone that down slightly. But either way, I still like the DNG versus the NEF.
So let me know in the comments which one you liked better, the black eye, Junko, DNG, or NEF.
Now the next one is a Northern Flicker Woodpecker, and we have the original NEF file here on the left, which was edited in Lightroom.
And then, I have a TIFF file for the second edit in the other app.
Now I did have to use a TIFF file to remove the branch, which I haven’t done yet.
We can see that it’s removed here, but that’s the only difference between these two other than the noticeable difference in the cleanness of the TIFF file. So it’s very clean, with no digital noise, and it’s sharper.
And we can see some feather details that are not visible in the light room edit.
So this was shot at ISO 5,000, so there was a lot of digital noise, but the other thing contributing to the softness of this image here is the crop that I had to do.
So I used a 200 to 500 zoom lens, but it wasn’t enough.
So I need a lens that’s three times longer for this particular crop right here, I wanted to get in real tight on the woodpecker, but that’s as close as I could get.
So I had to do a heavy crop which resulted in the softness, but I could fix that with the additional app I used for this particular edit here.
Now, before I show you the app I used to get this sharp, clean image, let’s look at how we would typically edit an image in Lightroom.
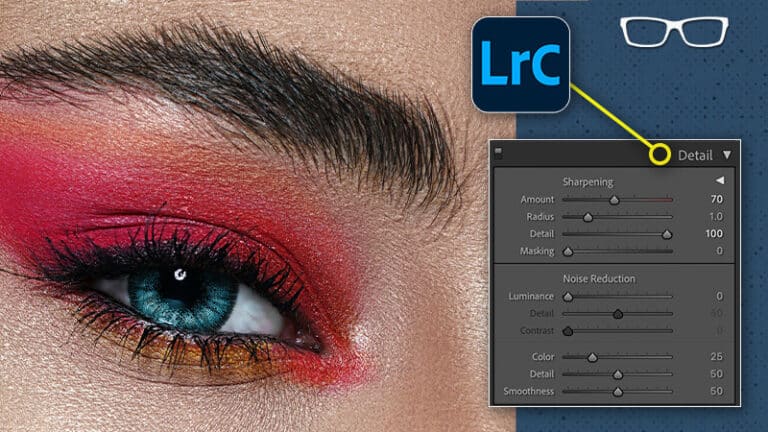
So we’re gonna go down to the detail panel here, and you can see I only have the default sharpening on right now.
I’m going to zoom in to around 200% here so we can get a closer look at what’s going on when we apply the edits here in Lightroom.
If I increase the sharpening, you can see some digital artifacts are starting to come through.
I can use the masking tool to tone that down, but it’s not bringing back any detail.
There are a lot of artifacts going on in the image here, and it’s not really sharpening the image as we would like.
Now if we look at the noise reduction down here, I have it set to 50 for the luminance, which we take back to zero.
You can see a lot of digital noise in there, and if I go up to a hundred, it will remove all the noise in the image, but it smoothing out the detail in the entire image.
So we’re losing detail in the bark of this branch here. And definitely, in our subject here, we don’t see any separation of feathers.
There’s no definition, no detail in there.
So I would never go to 100, but even at 50, we’re still not getting the same amount of detail as that final edit I showed you just a second ago. This isn’t how I would apply noise reduction and sharpening and Lightroom.
If you use Lightroom, I recommend creating a mask for your subject and background separately and then applying your noise reduction from here.
So I did go very heavy on the noise reduction for the background because I’m not worried about losing detail in the background. It’s not that important.
So for the Woodpecker itself, I did 29, and that’s because if I go any further, I will lose detail.
But again, it still doesn’t match the quality that we have in this TIF file here.
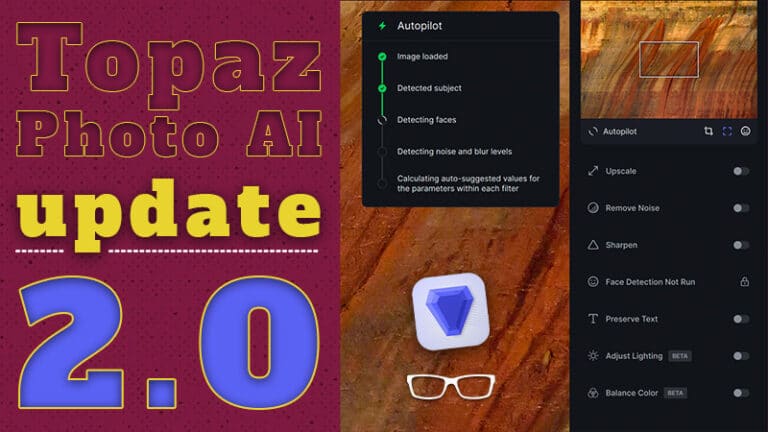
So how did I get this edit? Well, I had to use a third-party plugin.
So I’m going up to file, down to plugin extras, and process with Topaz photo ai.
Now, I know many photographers aren’t big on buying plugins or third-party apps that work with Lightroom. Still, if you are serious about the quality of your images and like all the DNG files, you have to consider using something other than Lightroom.
Now you can download a free trial of Topaz photo AI with the affiliate link I’ve provided in the description below.
Now I will get a commission if you decide to purchase it, which will help me support this channel.
Now you can try it out on your own image for as long as you want.
And I have a guide that will show you how to use it, which you will find a link for in the description below as well.
And what the photo AI software does is it analyzes your image among tens of thousands of other images to determine how much noise and sharpness to apply to your image.
And instantly, we can see that that digital noise has been removed and the image has been sharpened. I’m going to zoom in to 200% here.
Now, a quick warning that this software is addicting as soon as you get it and start trying it out on your own images, you’re going to be playing around with this little before and after on all your images, at least I did.
Maybe I’m weird that way, but I was just so amazed by the quality of the image after the AI engineering was applied to my images.
So I’m at 200%. Again, I wouldn’t go that high to review an image but to show you the difference between before and after.
So it’s processing this information based on the raw file, and that’s why we’re not seeing the edits that I had applied in that original image I showed you.
For comparison, I had done some basic edits as I increased the shadows, the whites, and the exposure a little bit.
I did a tone curve. All of that, though, I can add back once I get this image back into Lightroom by syncing up the edits from the other image.
But I want to show you a couple of other things you can do to improve your image.
We talked about the sharpening on the black eye jungle being too much.
Well, if we come here to remove noise raw, the detail slider here will bring back that detail. And the higher it is, the sharper the image will be.
So if you find that it’s over-sharpening or the strength of the noise is too much, you can come in here and select a different model, or you can just go ahead and adjust the detail slider or strength slider according
To what works for your particular image. Now we also have another option here to sharpen the image, either on standard model lens blur or motion blur. Now originally the AI software did not recommend any sharpening.
That’s why that was turned off. And I wouldn’t apply any sharpening because now the image is becoming over-sharpened.
Even if I drop this down to one for clarity and strength, it may be too much sharpening, but I will use it sometimes, depending on the image. And we also have lens blur.
If your focus point is on the wrong part of your subject, let’s say the wings or the breast of the woodpecker here instead of the eye, then you can use lens blur to fix that. Or if there’s some motion blur, it will also fix that motion blur. And it’s awesome if you ask me.
I’m going to turn that off for now. We also have an enhanced resolution, which will be perfect for low-resolution files or when you upscale your image.
So let’s go ahead and crop this image really tight as we did with the original edits I had shown you. And let’s go in real tight like, so I’m gonna go ahead and imply that. And then, we have some options here to upscale the file.
So right now, the width is 1667 for the width, and if I two x that, it will double the width and height. And then you have an option two four x, or max, which is six x if you wanna do that instead.
You can see even with two x, the image isn’t that soft, it might be just a tad.
So I may wanna sharpen it if I wanna use this resolution, but either way, you can see that it’s a hundred times better than what we can get in Lightroom.
All right, once you get the Topaz photo AI free trial installed, you may wanna learn how to use it, which you can do with my Topaz photo AI for beginner’s guide.