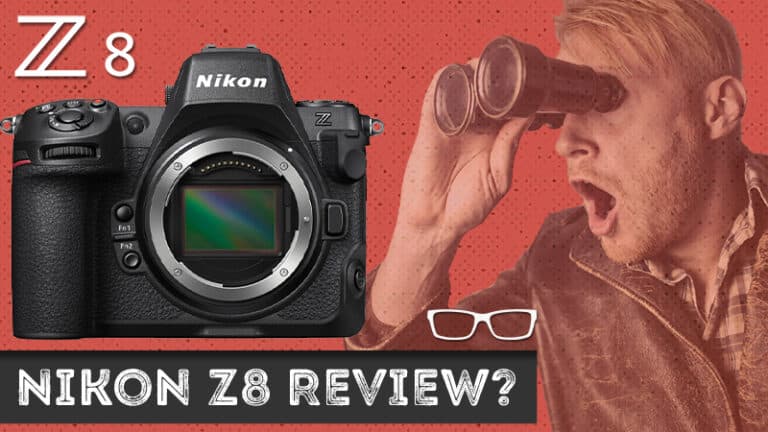
Nikon z8 Review | Does the Nikon z8 eat batteries faster than PacMan?
Subscribe
Does the Nikon z8 eat batteries faster than PacMan?
Should you consider buying the Power Battery Pack to increase shooting time?
I field-tested the Nikon z8’s battery life in the field for five days to see how many photos I could get on a single charge.
Over the course of testing, I used a variety of camera settings in different shooting situations, from perched birds to birds in flight and some landscape photos.
And the results were a little surprising, considering that Nikon says you’ll get roughly 300-370 images per charge depending on how you use it.
CAMERA SETUP
Before we get to the results, you need to know something.
My goal was to do everything I could to get the battery to drain on the day of testing. And that’s because this testing goes against how I shoot daily.
I’ll explain how I shoot when we get to the testing on Day Five.
I used some power-hungry settings for the battery capacity tests to help drain the battery faster.
- This included setting the EVF to 120 FPS
- I shot lossless RAW files at twenty FPS
- I used this Nikon 200-500 with an FTZ adapter. This combination turns off the vibration reduction in the z8.
- I turned on the VR in sport mode on the lens, which is powered by the z8 battery.
- I also used all of the focus mode options, and initially, I didn’t think it would make a difference.
- Also, I believe the power-saving feature is set by default. But, since I’ll use it after the tests, I decided to keep it on and changed the default of thirty seconds to one minute, which should help drain the battery faster.
DAY 1 – Auto Area AF
On the first day of testing the battery, I had only used the Nikon z8 the day prior.
I was still getting used to learning how to use the camera and decided to let it do most of the work regarding Auto-Focus.
I decided to start with the Auto Area Auto Focus…
…so, how many images did I get before the battery died? Only *drumroll* three hundred and thirty-seven. Not that impressive. Is it?
But it’s better than you might think… and I’ll explain why when we get to the Day Five tests.
DAY 2 – 3D AF
On the second day, I decided to try out the 3D Auto Focus mode, and this time I was able to capture “one thousand four hundred and twelve images.”
That’s over a thousand more images on a full charge. That’s a huge discrepancy. Or is it? Again, the results will make more sense in a moment.
First, let’s take a look at the third day of results.
DAY 3 – BIF
This time, I decided to test the battery while trying to shoot Birds in Flight.
There’s a huge population of Swallows here at one of our local marshes, and I thought this would be ideal for testing.
Only one problem.
I wasn’t able to get a single Swallow photographed.
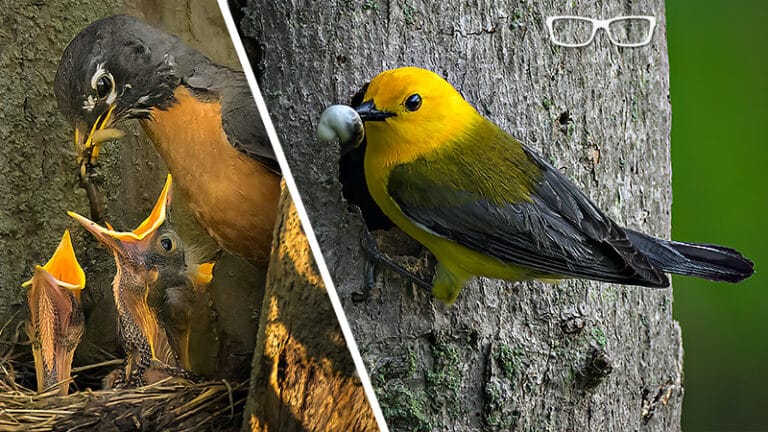
Instead, this Great Blue Heron decided to do a low fly-by that startled me since it was only about forty feet away, and I had to quickly zoom out to get the shot.
At the end of the day, I could only capture two hundred and forty-eight images. However, I wasn’t able to drain the battery entirely.
I checked the battery level, and it said fifty percent of the battery life was left.
If we double the number of shots, that gets us closer to five hundred.
DAY 4 – LCD
For the fourth day, I returned to the Marsh at six in the morning to do some wildlife and landscape images and decided to use the LCD vs. the Viewfinder.
On this day, I captured six hundred and seventy-five images on a full charge.
CONCLUSION + DAY 5
Four days and zero consistency in the number of images per charge.
Well, there’s a little more to it than just the final numbers.
Part of it was the Auto-area Focus that I used on Day 1.
It couldn’t focus on the subject; instead, it did a lot of hunting while searching for the subject.
I spent more time focusing vs shooting.
This resulted in fewer photos vs. Day 2, where the 3D focus did a better job of focusing.
On the third day, I had the same problem with not being able to focus on the birds in flight, which was not a problem caused by the Nikon z8.
It was more of a user error since I couldn’t keep up with the Swallows.
On the fourth day, I had less than half as many images as on Day 2.
However, this had nothing to do with the LCD panel.
I was literally trying to drain the battery as fast as possible and turned off the power-saving mode, and I was still able to get over six hundred images.
DAY 5 – NORMAL SHOOTING
On the fifth day, I was more comfortable with the z8 and decided to shoot as I would usually, and I employed a couple of tactics to shoot 60 images and still had 61% of the battery left.
To give some context, I shoot a lot of my wildlife locally, and I’m close to a National Park with a few marshes, many trails, and more.
Most of the time, I walk the trails vs. being stationary in one location.
I’ll travel to another part of the park for the best light as the sun moves throughout the day. So, a lot of the time, I turn the camera off as I move around.
But, more importantly, unlike when I was testing the first four days, I’m a lot more selective and not shooting everything in sight.
I have three golden rules to get the best image possible in-camera…
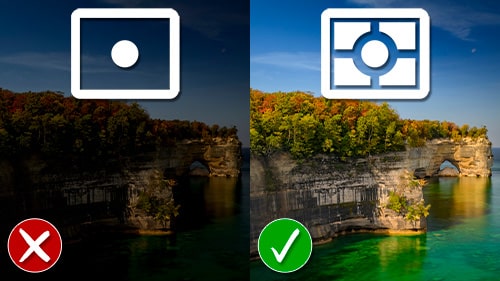
And the first is to avoid taking images with a busy background and/or foreground.
This Yellowthroat is an example of that.
I will also avoid subjects that are too high and like to shoot more at eye level unless the subject is far away.
My third rule is all about the light.
Golden Hour and up to around 2 hours after provides the best light for wildlife, in my opinion.
It’s not so much the direction of light, but the golden color of the light, that I find more appealing.
Or if it’s a cloudy day, that creates a nice, soft, elegant light that allows me to shoot all day.
I rarely drain a battery on the same day by sticking to those rules.
I have no use for the Power Battery Grip.
Even if everything was perfect and I drained the battery, I always bring extra batteries.
So, I’m going to save my money on a Power Grip.
WHAT ABOUT AUTO FOCUS MODES?
Now, for these tests, I used all the different Auto Focus options.
How well did each do, and which Auto Focus setting do I recommend?
I thought I knew the answer before the tests, but I was pleasantly surprised by which Auto Focus mode I now use for wildlife and portraits.
To find out my recommendations watch this video next.