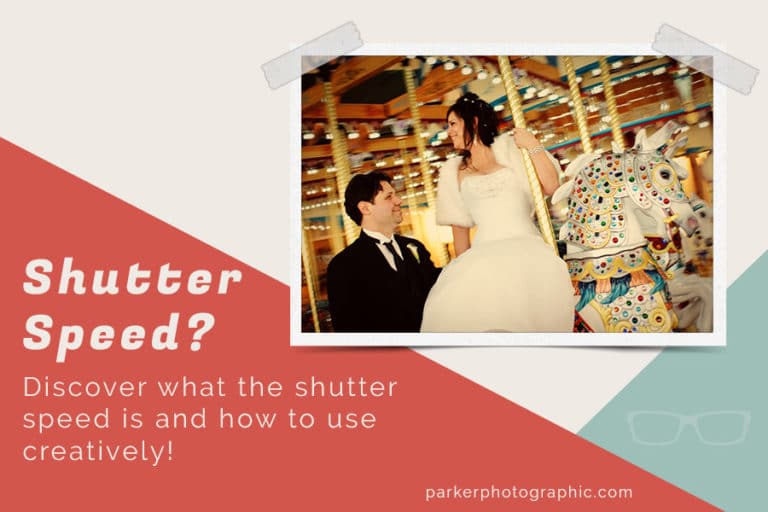
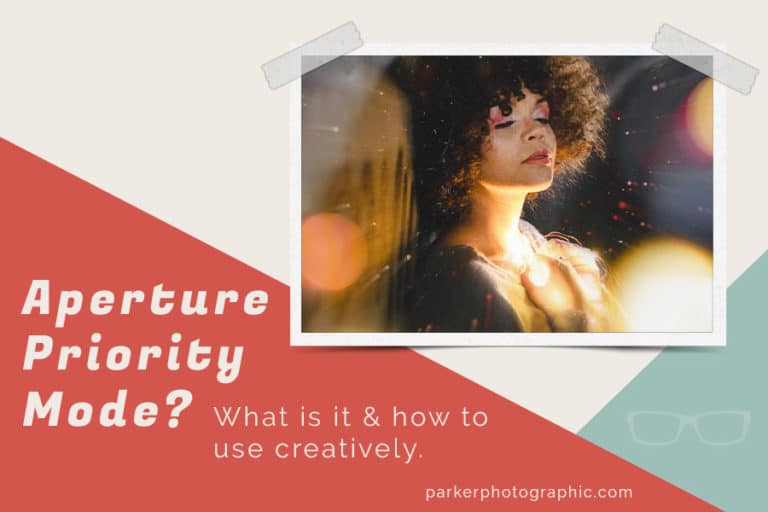
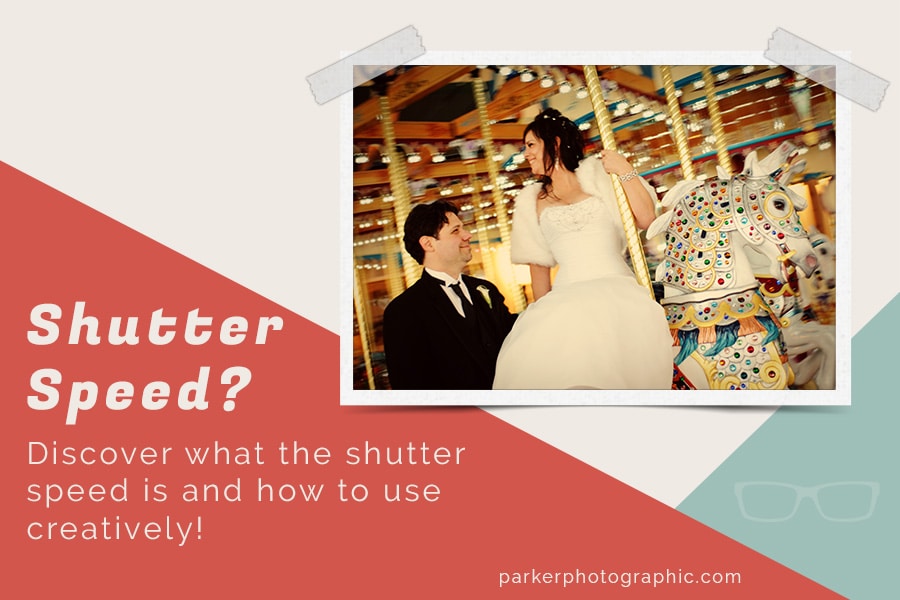
What Is Shutter Speed In Photography?
The shutter speed is 1 of 3 essential ingredients for capturing a perfect exposure. The other two are ISO and aperture. The three of them together create what is known as the “Exposure Triangle.”
Using all three together helps you achieve your creative vision AND to capture a well-balanced exposure in-camera. This guide will focus on the Shutter Speed.
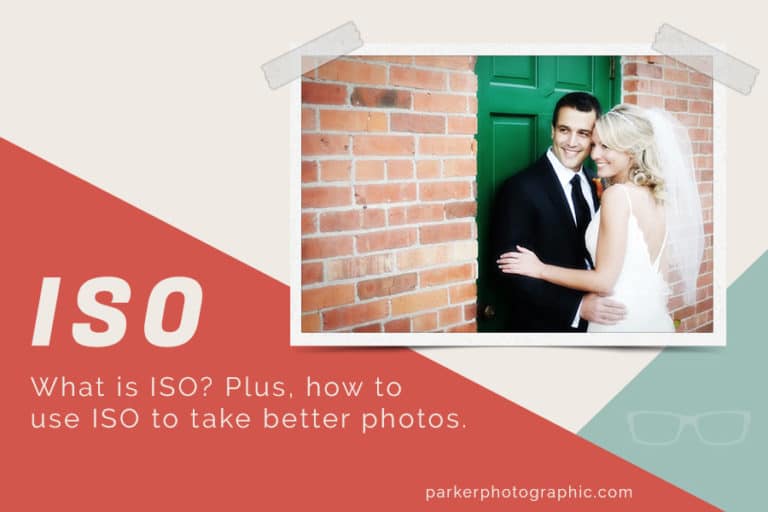
You’ll learn: what the shutter speed is and how to use it. Plus, we’ll get your toes wet with ISO and aperture in regards to how it relates to the shutter speed… with 3 real-world examples.
You’ll also learn the creative options you can use to fulfill your creative vision with the shutter speed. This includes freezing the action or creating a motion blur… and they’ll be included with the real-world examples.
Ready to get started? Cool… let’s do it!
Table of Contents
Shutter Speed Deep Dive
The “shutter speed” consists of two main elements: the “shutter” and the “speed.” Let’s explore the mechanics of the shutter and the duration of the “speed.”
the Mechanics of the Shutter
The first thing you’ll see is a mirror when you take your lens off of a DSLR camera. Behind that mirror is where your shutter is located. And behind the shutter is the sensor that captures your photos.
When you take a photo, both the mirror and the shutter “open” (move) so the sensor can capture your image. The length the shutter stays open is dependent on the “speed” or the duration you chose.
the Duration of the Speed
Shutter speeds come either in fractions of a second or longer durations can be 1 second or more.
The most common shutter speeds you’ll use are in fractions of a second. Here is a list of some speeds you’ll often use in photography.
1/4000, 1/2000, 1/1000, 1/500, 1/250, 1/125, 1/60
There are other faster and slower shutter speeds as well. All the way down to ½ a second and up to 1/8000 of a sec. You can even set the shutter to stay open for a full second and up to 30 seconds for an even slower speed.
It’s possible, with the right camera to keep the shutter open for more than 30 seconds.
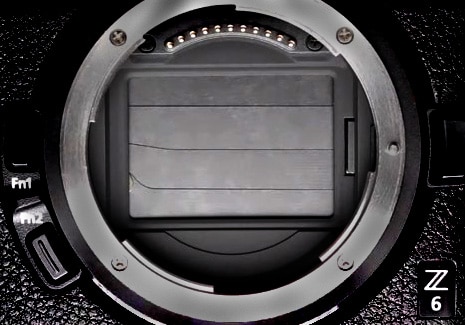
The shutter is currently closed and blocking the sensor from capturing your image.
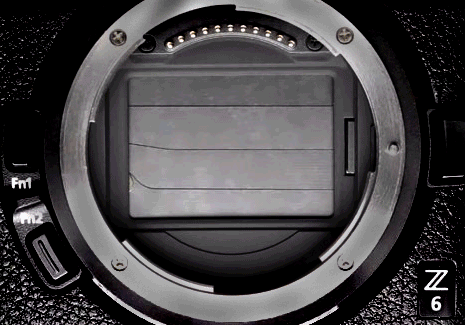
Simulation of the shutter opening when you press the “shutter” release button. Note: this is a Nikon Z6 which is a mirrorless camera.
Landscape photo being revealed provided by Simon Migaj.
the Creative Side To Shutter Speeds
The primary purpose of the shutter speed is to manage the light for a well-balanced exposure. But it also gives you some creative options.
If the shutter speed is too slow, it will create a motion blur. In other words, anything moving in your image will end up blurry. If you want your subjects to be tack sharp, you’ll need to choose a faster shutter speed to freeze the action.
The faster the subject is moving, the faster the shutter speed you’ll need for a sharp image. It all depends on your creative vision for the shot.
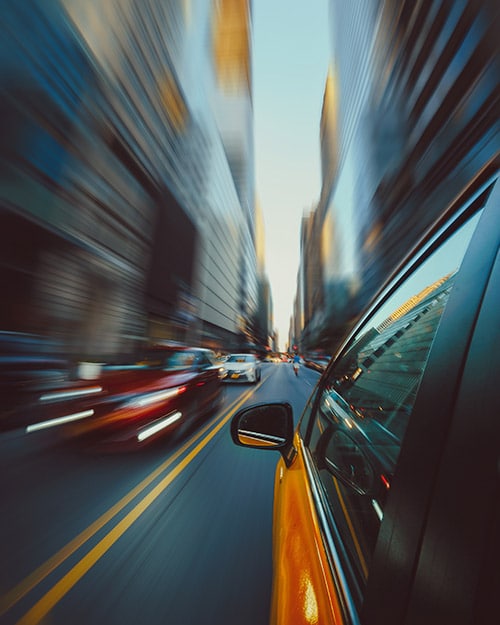
The speed of the cars in relation to the shutter speed results in “motion blur.” This is a creative option you’ll have to consider prior to taking your photo.
Do you want the subjects to be tack sharp or do you want a blur effect?
Photo by Alex Powell.
Real-World Shutter Speed Examples
Below you’ll find 3 real-world examples that walk you through how I used the shutter speed to capture a well-balanced exposure. Plus, how my creative vision affected my shutter speed choices.
Oh, and I’ve included why I chose the Aperture and ISO too!
Shutter Speeds For Low Light Photography
In situations where the light source is dim, it could result in images that are underexposed. That is if you don’t use the correct shutter speed, aperture, and ISO settings for the proper exposure.
Images that are underexposed appear darker, lack distinctive detail, and overall are of lower quality. This is a general rule, and I believe rules are meant to be broken. In photography, at least.
What if you wanted a darker image to tell a story about a particular subject, and it was part of your creative vision?
Go for it!
In most photos, at least for me, I want to capture a well-balanced exposure in-camera. Here are a couple of low light scenarios you may find yourself in that require a slow shutter speed:
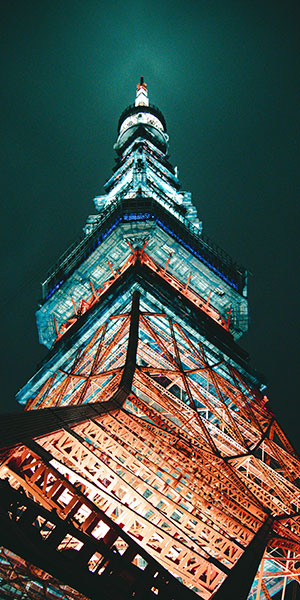
Photo by Sunil Poudel.
ONE
Inside when there is little light.
You may find a shutter speed between 1/30th of a second to 1/125th of a second that may work. It all depends on your vision for the shot and your selections for the aperture and ISO.
TWO
Outdoors at night or sunset.
If you’re out of the city looking to shoot the stars, you’re probably going to need a shutter speed of 1 second or slower.
In the city, for street photography you may be able to get away with half a second to 1/60th of a second.
Sunset and sunrise photos you can use shutter speeds up to 1/250 (or more). As the sun sets, if you don’t change the aperture or ISO, you’ll need to use a slower duration. This is needed to compensate for the lower intensity of the sun.
Overall, the shutter speed depends on the intensity of the available light, your other two exposure settings, and your desired end result.
TIP:
When dealing with slow shutter speeds, the general rule is you do not want to use a shutter speed that is lower than the focal length of your lens.… when hand-holding.
For example, a 50mm lens should not be shot with a shutter speed slower than 1/50th of a second.
Otherwise, you may end up with a blurry image.
It all depends on your ability to hand-hold the camera steadily.
The larger the lens, the more it weighs, and the harder it becomes to hold steady… and avoid camera shake.
Real-World Shutter Speed Example #1
For this example, the photo to the right was entirely illuminated with candles!
Due to the low intensity of the light, I had to use a slow shutter speed. The only problem was I didn’t have my tripod with me. So, I couldn’t go too low. Otherwise, I would have ended up with motion blur.
With the lens I was using (Nikon 85mm 1.8), I felt comfortable using 1/50th of a sec for the shutter speed. That meant I also had to use a shallow depth-of-field of f/1.8 and a high ISO of 800.
To help reduce possible motion blur, I held my elbows close to my body and held my breath as I slowly squeezed the shutter release button. I took several shots (7 total) to ensure a sharp image was captured.
Luckily, all were tack sharp!
Now, you may be thinking, I could have used fill flash (off-camera flash) to use a faster shutter speed and a lower ISO. Which is true…
…increasing the amount of light allows more to reach the sensor and, therefore, means a faster shutter speed could have been used.
However, the mood of the overall image would have been different. The goal for this image was to use natural light to set the mood… soft, elegant, and romantic.
What kind of image do you want to capture? What is the story behind it? How can the lighting help tell the story based on the mood it portrays?
These are a few questions you need to answer before choosing your exposure settings. Once you know the answers, you’ll know what settings to choose based on your vision for the shot.
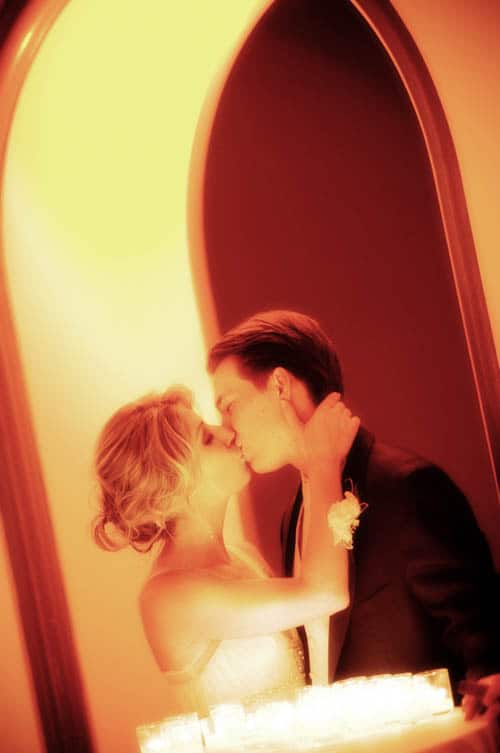
The color of light changes based on the intensity of the light.

After all that hard work I decided to go with a b&w image. Why? The skin tones looked too unnatural with the orange color from the lights.
Shutter Speeds For Intense Light
When too much light is passed to the sensor, it can create an overexposed image.
Overexposed images tend to have little to no detail in the highlights. This results in photos that are washed out, and, just like underexposed images, are of low quality.
Here are a few examples of intense lighting scenarios you may find yourself in that require a faster shutter speed:
ONE
Inside with bright lights.
If you’re attending an indoor sporting event you may find a shutter speed of 1/125 sec (or faster) is necessary. That is if you want to freeze the action.
TWO
Outdoors on a sunny day.
This may require a shutter speed of at least 1/500 sec or faster. You may need to go all the way up to 1/4000 sec on very bright days.
This, of course, can be countered with a lower ISO and or a smaller aperture (like f/11 or f/16).
Nikon D300 | f/5 | ISO 1600 | 1/100
Nikon D300 | f/13 | ISO 200 | 1/1250
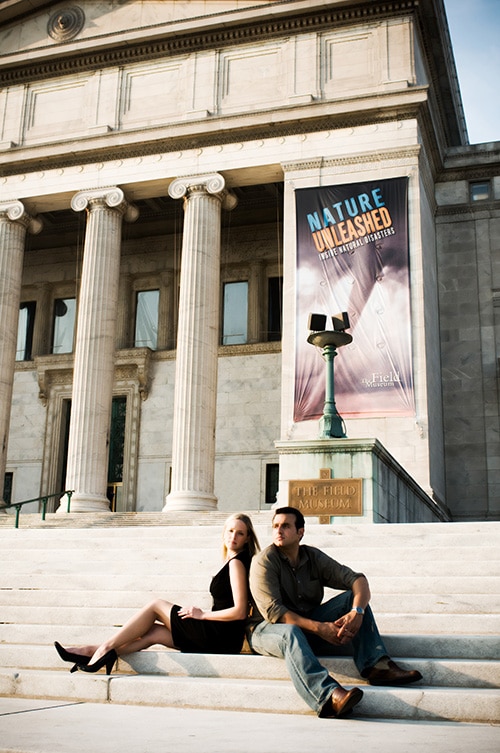
Real-World Shutter Speed Example #2
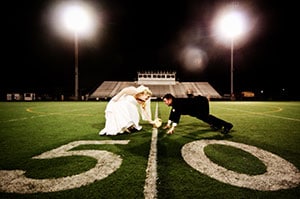
The time of day was late afternoon. Not a cloud in the sky!
For this shot, I wanted to keep the background in focus to help tell the story… the location (the Field Museum). But, not too sharp where it competed too much with the couple. There had to be some separation.
I settled on f/4. Since it was bright, I could also use the lowest ISO available for minimal digital noise… ISO 200.
Now, the shutter speed. Where to start? Well, it wasn’t high noon. If it was, then I’d need at least 1/2000 of a second or faster. How do I know? Experience.
In time, as you shoot more and more…
… you’ll start remembering what shutter speeds work at what time of days… or even based on the lighting in general, and that will be your starting point.
I settled on 1/500th of a second to start. I dialed in all my settings and reviewed the exposure meter, through the viewfinder, before shooting. It was spot-on.
However, after looking at the histogram, I noticed it was showing that the highlights were overexposed. The detail was being clipped.
I raised the shutter speed to 1/640th of a second and reshot. Perfect exposure, in-camera, with all the details intact.
Sure, I could have “fixed” the exposure in Lightroom (or Photoshop). But, why spend time doing that when I can fix it while shooting? This photoshoot had around 200 images. Getting it right in-camera saved me a lot of editing time.
Motion Blur With Shutter Speed
Ready to get creative? Awesome.
One of my favorite creative techniques is to blur the action with a slow shutter speed.
Pro Tip:
A tripod is required for this technique. Otherwise, chances are good you’ll end up with a blurry image (from camera shake).
Have you seen photos where the water is smooth and silky, the taillights of cars appear to be one continuous stream of light, or the stars appear to be streaking across the sky?
This is achieved by using slower shutter
speeds to blur the action.
How slow depends on the speed of the “action” in the scene and the amount of available light.
You could easily spend 10 minutes or more to capture the motion of the stars streaking across the sky.
This would require leaving the shutter open via the Bulb Mode. Not all cameras have this option, though. Those that do will allow the shutter to stay open as long as you hold down the shutter release button.
There’s actually more to it than that, and we discuss that in this article on long exposure photography.
Real-World Shutter Speed
Example #3
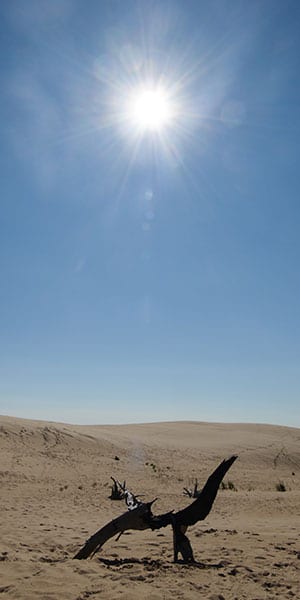
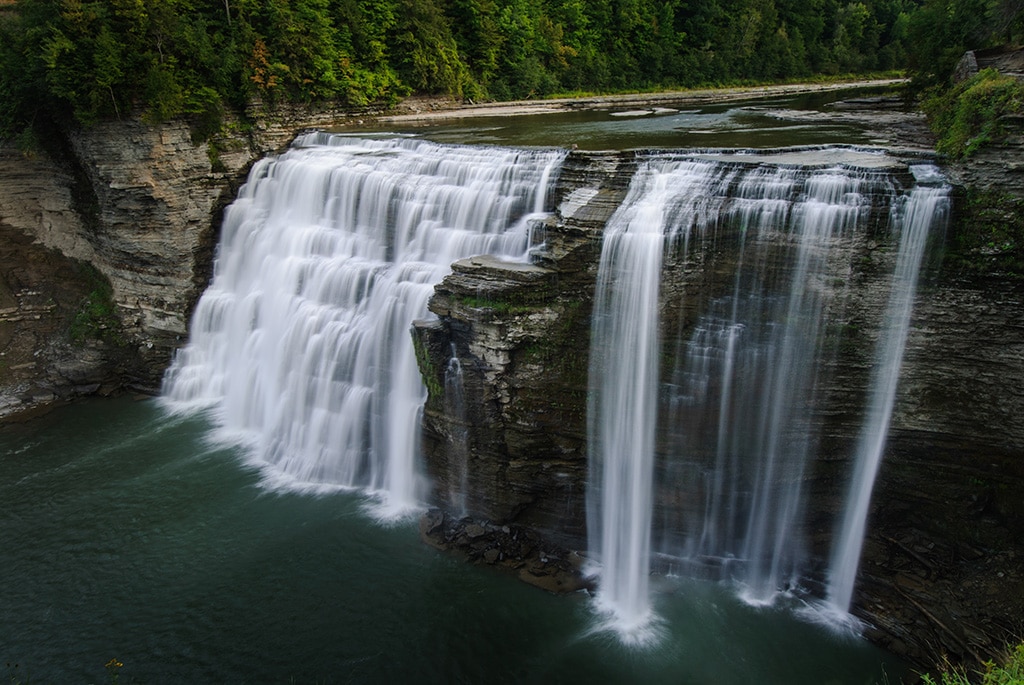
This next image I captured during one of our family vacations at Letchworth state park. The sun was falling fast, and it was a partly cloudy day.
The plan for this image was to have a large wall print created for our home. With that in mind, I decided on a low ISO for minimal digital noise, ISO 125. I also wanted the foreground and background sharp. This required a large depth of field. So, I settled on f/16.
This led to a small dilemma. I needed a prolonged shutter speed…
…but I left my tripod back at the cabin. There wasn’t enough time to go back.
After a few test shots, I determined that half a second would give the amount of motion
blur I wanted and provide a perfect (in-camera) exposure.
One. Half. A. Second. Hand. Held. Yikes!
To pull this off, I utilized the stone wall in front of me. It was waist-high. I placed the camera on top of the wall and near the front edge. This way, I could point it down slightly to get the entire waterfall.
After composing, I braced my arms on top of the wall and squeezed the shutter button. Perfect! Almost. I had to take several shots since most had motion blur (camera shake).
Less learned. Don’t leave your tripod behind!
By the way, I was using a wide-angle lens: Nikon 12-24. Technically, I could have hand-held the camera, but I didn’t want to take a chance.
Now What?
The biggest challenge new photographers have is understanding the relationship between aperture, shutter speed, and ISO to get a well balanced exposure in-camera. Here are some more guides that will help you master “exposure.”
What is Aperture in photography?
What is ISO in photography?
What is Exposure Triangle?
What's Next?
The biggest challenge new photographers have is understanding the relationship between aperture, shutter speed, and ISO to get a well balanced exposure in-camera. Here are some guides that will help you master “exposure.”
What is Aperture in photography?
What is ISO in photography?
Light is an important element for maximizing texture in your images. Check out the 7 key ingredients for light in photography to master light in photography.