What Is ISO In Photography?
Setting your ISO is one of three keys to better and creative photos. The other two are your Aperture and Shutter Speed.
But, what exactly is ISO?
Today, you’ll learn what ISO is (and isn’t), a brief history of ISO, and what ISO setting to use in different shooting situations.
Ready?
Awesome, let’s do it…
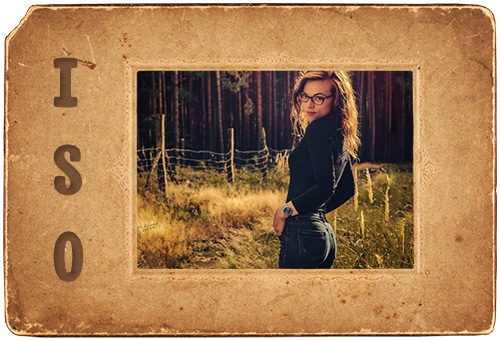
Photo by one of our students: Mateusz Suska.
Izabela ~ Canon M50 | 50mm | f/6.3 | 1/100 | ISO 100
Table of Contents
What Is ISO?
In essence, ISO is a camera setting that can increase or darken an image during capture.
“ISO is used to rate the sensitivity of film to light. The higher the ISO number, the more sensitive the film. The different ratings of ISO are known as film speeds.”
Ok, but you’re thinking…
“I don’t shoot film. What does this have to do with my digital camera?”
Well, ISO has been carried over from the film days, and the concept of ISO is similar for digital.
In the digital world, your photos will become brighter, the higher the ISO number. That is if your Aperture and Shutter Speed stays the same.
Therefore, your ISO setting gives you the creative option to choose a different Aperture and/or Shutter Speed based on the available light.
To better understand ISO, we’re going to take a short journey through the days of film. Feel free to skip it if you’re already familiar with the origin of ISO.
A Brief History + Origin of ISO Numbers
Before we had ISO (to rate the speed of film), there were several competing standards…
Hurter and Driffield – Two scientists from the 19th century standardize the classification of the speed of film at that time (1890’s – 1928)… based on the film’s sensitivity.
Weston – This father and son team had a different method of rating film, and sometimes it conflicted with the manufacturer ratings. This led to confusion on what speed of film you were actually buying.
DIN – This was a competing rating system introduced by the Deutsches Institute Normung. It just added more confusion.
ASA – In 1943, the American Standards Association tried to standardize film ratings by taking inspiration from previous systems and created a new method for rating film.
ISO – In 1974, DIN and ASA were used for inspiration (and were joined) to create a new method to standardize the rating of the film. It’s still used today.
The new ISO standard streamlined the rating system by doubling the film sensitivity based on the numeric value of the film speed. And was adopted by film manufacturers… making it easier for photographers.
Common ISO Settings
Not all cameras will have the exact same ISO settings available.
However, there are some standard ISO settings that most cameras will have.
These are the same ISO ratings we had/have with film.
- ISO 100
- ISO 200
- ISO 400
- ISO 800
- ISO 1600
- ISO 3200
Note: Some cameras will not have an ISO 100 rating. For example, my Nikon D300 does not have it. Nor do some other cameras.
Plus, some cameras have additional options that will be labeled as “HI and “LO”. I find these settings, mainly “HI”, result in poor quality images. So, I try to avoid these and recommend you do the same.
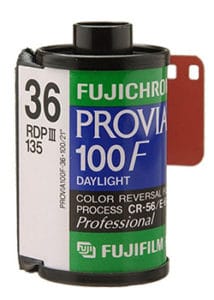
For example, under direct sunlight or other situations where the lighting is bright.
What Do The ISO Numbers Represent?
Rating the sensitivity of film was required, so you knew which one to use during specific lighting conditions.
The same applies to digital photography. Having a number that represents a brightness level, helps in determining which one to use under specific lighting conditions.
In low light situations, you would need a higher (more sensitive) ISO to be able to capture the image with optimal exposure.
For example, a scene lit by candlelight might require a fast (more sensitive) ISO, like 3200.
Shooting at sunset would require maybe 800 or 1600. On a bright sunny day, you may need a less sensitive (slower) film, like 100 or 200.
These are general assumptions. Technically you could shoot at ISO 100 the majority of the time.
As long as you have a tripod so you can shoot at slower shutter speeds and have the lens “wide-open” (larger aperture).
Or if you’re able to increase the amount of light (flash, strobes, etc..), you could then shoot at a lower ISO.
So, numbers were assigned to film based on how sensitive it was to light.
The higher the number, the more sensitive film is.
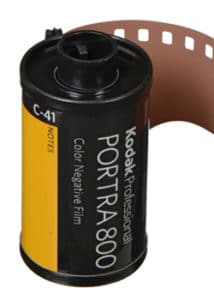
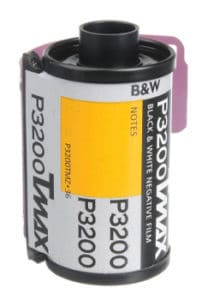
This ISO rating is perfect for extreme low-light situations: candle-light, indoors with less intense lighting, (stadium), a night photography, etc.
ISO Doubles Your Light. Sort Of.
You’ll also notice that each ISO number is doubled or halved.
Each time you double the ISO, let’s say from 100 to 200, your camera needs only half as much light for the same exposure.
The opposite is true if you go from 400 to 200… you’ll need twice as much light for the same exposure.
In general, the intensity of the light source is going to be a starting point for what ISO to use.
You’ll also have to take into consideration whether or not you can allow more light to be captured through a larger aperture and/or slower shutter speed.
Depending on the circumstances and your creative vision, you may end up needing a faster ISO.
The shutter speed was set to 1/100th of a sec. and an aperture of f/2.8. The fast aperture allowed more light to enter.
Otherwise, if I used an aperture of f/5.6, an ISO of 3200 would have been required for the proper exposure.
Where Did ISO Come From and How Do You Pronounce It?
Ask anyone that has been in photography for a while, and you’ll find that most will tell you that ISO is an acronym for; International Standards Organization.
And that you should pronounce it “eye – ess – oh.”
One problem, though. There is no such company called “International Standards Organization.”
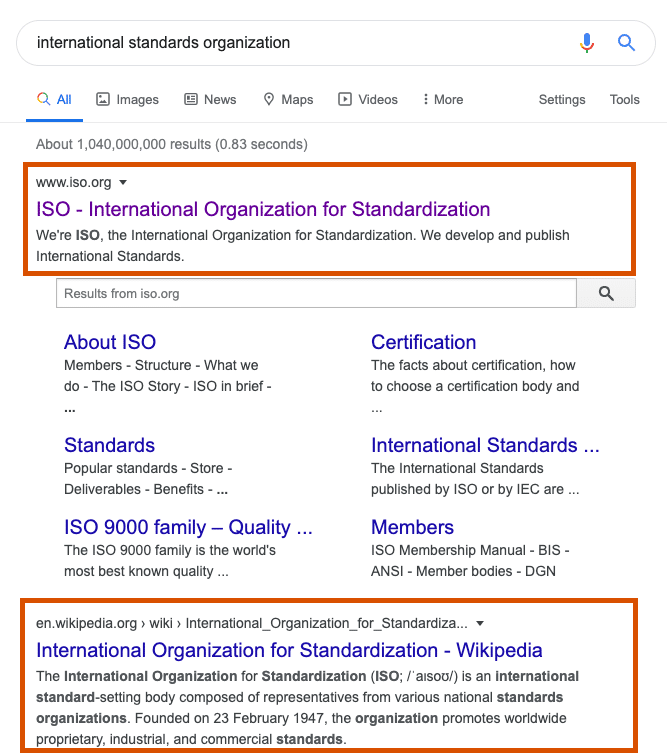
Don’t believe me? Google it.
Nothing. Notta. Zilch. It doesn’t exist.
But, there is a company called the “International Organization of Standardization.” Which is not the same as the name above.
Where did “ISO” come from, and why the confusion?
As mentioned previously, there is a company called the “International Organization of Standardization.”
Which is not the same as the “International Standardization Organization.”
From their website…
…the International Organization of Standardization is a non-profit organization based in Geneva, Switzerland.
Their mission is to bring together experts to share knowledge and develop voluntary, consensus-based, market-relevant International Standards that support innovation and provide solutions to global challenges.
However, they made things confusing by adopting “ISO” vs. IOS. Here is a quote from the International Organization for Standardization website…
“Because ‘International Organization for Standardization' would have different acronyms in different languages (IOS in English, OIN in French for Organisation Internationale de normalization), our founders decided to give it the short form ISO. ISO is derived from the Greek isos, meaning equal. Whatever the country, whatever the language, we are always ISO.”

Therefore, ISO does not stand for: “International Standardization Organization.”
The Truth
ISO is their brand! It’s not an acronym. Coke is a brand (which is better than Pepsi, by the way). Not an acronym.
As they mentioned, they use the short form ISO, which is derived from the Greek word isos.
So, ISO is a word.
Pronounced: “Eye-so.” Not I.S.O. (or C.O.K.E.).
Now, here is the real question…
Does It Really Matter?
In the grander scheme of things… no. It’s not going to make you a better photographer.
Truth be told, I’ve been saying “I.S.O.” for 25 years! I had no idea until another photographer informed me of the truth. But, my level of photography didn’t change one way or the other.
Let’s move on…
In the early days I had no idea what I was doing. 800 was way too much for a daytime shoot.
This little alley is next to a fire station in Downtown Detroit and provided little sunlight. Due to the low intensity of light an ISO of 800 was used.
How ISO is Different in the Digital World
Are the sensors in your camera sensitive to light?
In the analog world, film is sensitive to light. In the digital world, your camera sensor is NOT sensitive to light.
Why “film” is sensitive to light.
Film is made up of different layers. One of which consists of the emulsion. The emulsion is sensitive to light. When exposed to light, an image (of the scene) is “burned” into the emulsion.
For a full scientific explanation, seek out this article from Kodak.
Why the sensor in your camera is NOT sensitive to light.
Our camera’s sensors are made up of electronics. Electronics are not sensitive to light. It gathers the information, from the light, and records it electronically.
For a more technical explanation, check out this post from Wikipedia.
How ISO is Processed by the sensor in your camera
We’ve established that our camera’s sensors are not sensitive to light. Then, the question is, how does ISO affect the brightness of an image?
Technical Answer
Two things have to happen with your camera sensor to capture your photo.
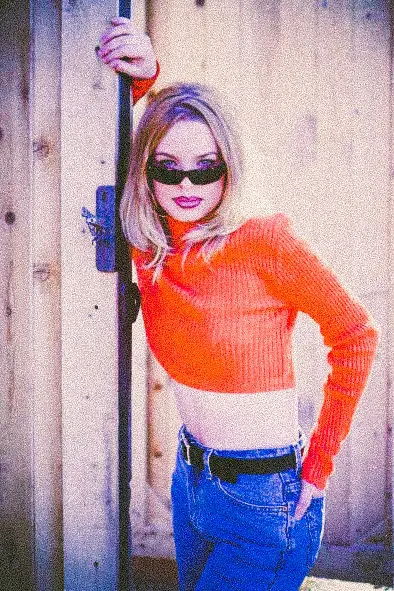
The strobe provided plenty of light to shoot at the lowest ISO setting.
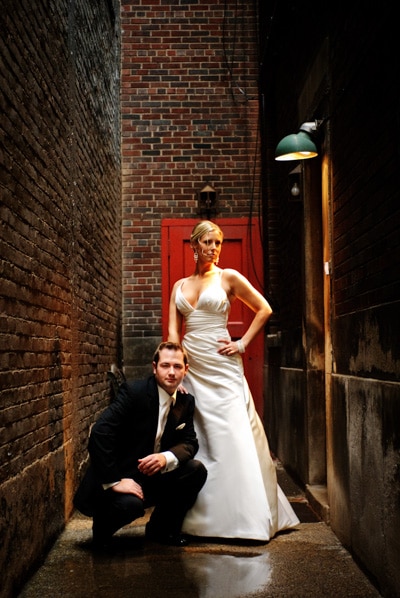
Low light situations like this require much higher ISO settings. ISO 1600 was used for this shot.
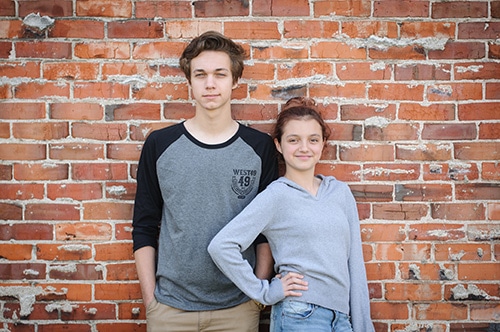
It was captured in the middle of the afternoon. I placed my son and daughter in the shade of the building behind them to have a softer light.
First…
…it needs input. That input is the available light from your scene. The light that reaches your sensor is controlled by two things
- Your lens + aperture
- The shutter speed
Now…
…your sensor needs to output (record) that information to a media card. This step saves the data the sensor collected and captures your photo.
But, different ISO ratings will alter your final image. Or the brightness of it.
So, how does it make your image brighter or darker if electronics are not sensitive to light? Great question…
The ISO setting you choose will amplify the light during output. The higher the ISO setting, the more the light is amplified. Or the brighter the image becomes.
So if you’re shooting in a low light situation, you can “amplify” the light (during output) with a higher ISO setting.
“Note: In the music and video world, this is known as "gain"... when increasing ISO.”
So adding gain or using a higher ISO doesn’t actually make the camera sensor more sensitive since it’s applied to the output and not the input.
So why the big fuss about accurate and technical information? Is it going to make you a better photographer?
Absolutely not.
But if you’re an avid music fan, a musician or videographer, then you’re probably already aware of gain. And how it can impact ISO.
Now For The Rest Of Us
All you need to know is the following... ...increasing the ISO will increase the brightness of the light due to being amplified.
Another ISO Advantage Over Film
In the digital world, we are not limited to just 6 ISO’s (100 – 3200).
In fact, a Nikon Z6 has an ISO range of 50 – 51,200!! It even goes higher if you take into account the ability to adjust the EV (exposure value)… all the way up to an ISO equivalent of 204,800!
Oh, and there’s even more. As you manually dial in the ISO, there are smaller increments…
…for example; most digital cameras have the following ISO increments… 100, 125, 160, 200, 250, 320, 400…
These are ⅓, or ½ step increases vs. doubling or halving.
The downside is calculating the settings for aperture or shutter speeds to capture a balanced exposure. It’s easier to figure out if you double or halve the ISO. To compensate, you’ll just double or halve the shutter speed or the aperture.
Cue the calculator. Not!
Luckily, we have a built-in LCD screen to see if our images are over or underexposed. By learning to read the histogram, to capture a balanced exposure, you’ll always be able to nail the exposure in-camera.
If your image is overexposed, drop the ISO to a smaller number. And the opposite if it’s underexposed.
But, you could be there all day until you get it just right. That is, if you’re starting with an ISO, that’s too far from what’s needed.
Coming up, I’ll share some general guidelines on what ISO setting to use in different lighting situations.
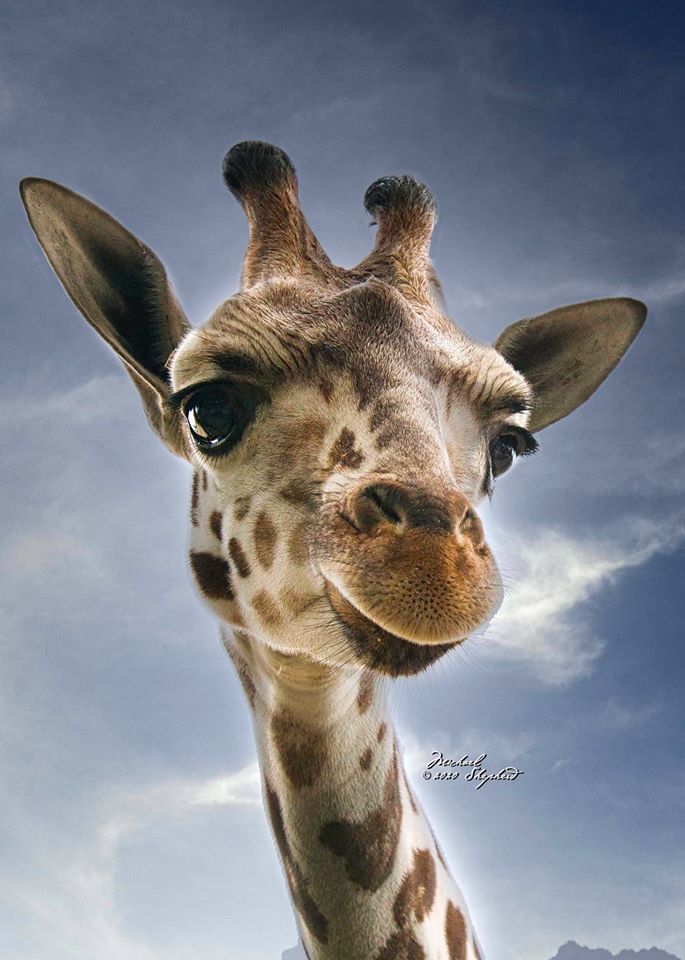
This image was the highest rated photo for the month of February, in our Facebook group.
Did you bring me food? – “One of my favorite photos in 2020 so far, this juvenile Giraffe at the Gulf Breeze (FL USA) zoo loves to eat lettuce out of your hand.
The challenge In photographing such a tall subject is how to balance a bright sky background with the need to get good details on the subject.
I exposed for the Giraffe, blew out the sky and with careful masking in post processing, added back a subtle sky.” Michael Shepherd
Nikon D-850 | Nikkor 24-85 | F11 | 1/125 | ISO 250.
So Far, ISO Sounds Like the Perfect Camera Setting. Or Is It?
Although ISO sounds like the perfect camera setting, to achieve your creative vision, it does have one major drawback.
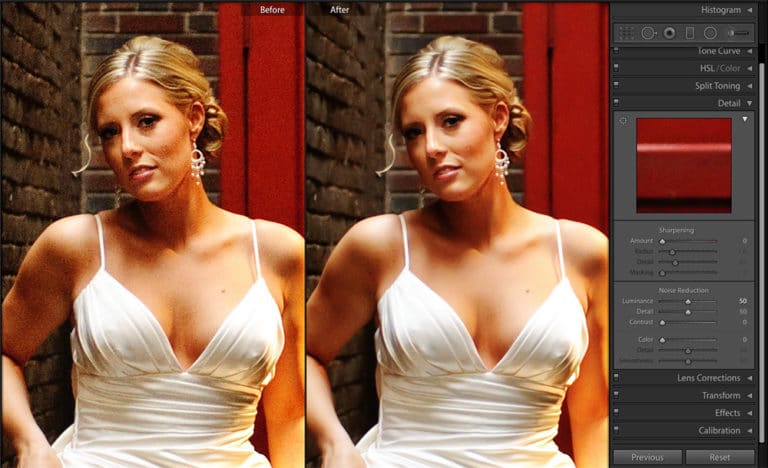
The higher the ISO number you use, the more degraded your image will be. This degradation comes in the form of what is known as the dreaded “Digital Noise.”
Digital noise comes from “amplifying” the light. This “noise” looks like tiny colored pixels in your image.
The first image was shot at an ISO of 100. The second at an ISO of 1600. Notice how the second image looks grittier? That grit is “digital noise.”
Yeck!
Film: With film, the faster (or higher) the ISO, the grainier the image becomes. The grainer the photo the more degraded it becomes.
Careful though. Too much reduction results in un-natural skin. Doing so creates very smooth looking skin—almost porcelain-like.
Here Is Some Good News About Digital Noise
The advancement of technology continues to lower the amount of digital noise created at higher ISO’s.
My first digital camera, a Fuji S2 (in 2002), provided decent photos at ISO 800. Anything faster was useless.
Today, my Nikon Z6 provides me with images I’m happy with at 3200 ISO! That’s a considerable improvement.
Someday, we may not even have to worry about digital noise. Until then, it’s always best to figure out how to shoot at the lowest (acceptable) ISO possible. And how to remove noise in post-processing.
Is ISO Part of The Exposure Equation?
Yes. Yes, it is! Some photographers say it isn’t. Let me explain why it is…
Exposure is how bright or how dark your image is. Both the aperture and shutter speed can be adjusted to determine the exposure. Plus, the ISO can be adjusted for changing the exposure as well!
As you learned earlier, if you go from ISO 800 to ISO 1600, you need half as much light.
But, let’s say you keep your Aperture and Shutter Speed settings the same and shoot at ISO 1600.
Guess what?
The higher ISO is going to amplify the light by (roughly) twice as much. Therefore, your “exposure” is being affected!
In fact, your image is now overexposed. So, ISO does have a direct relation to your exposure.
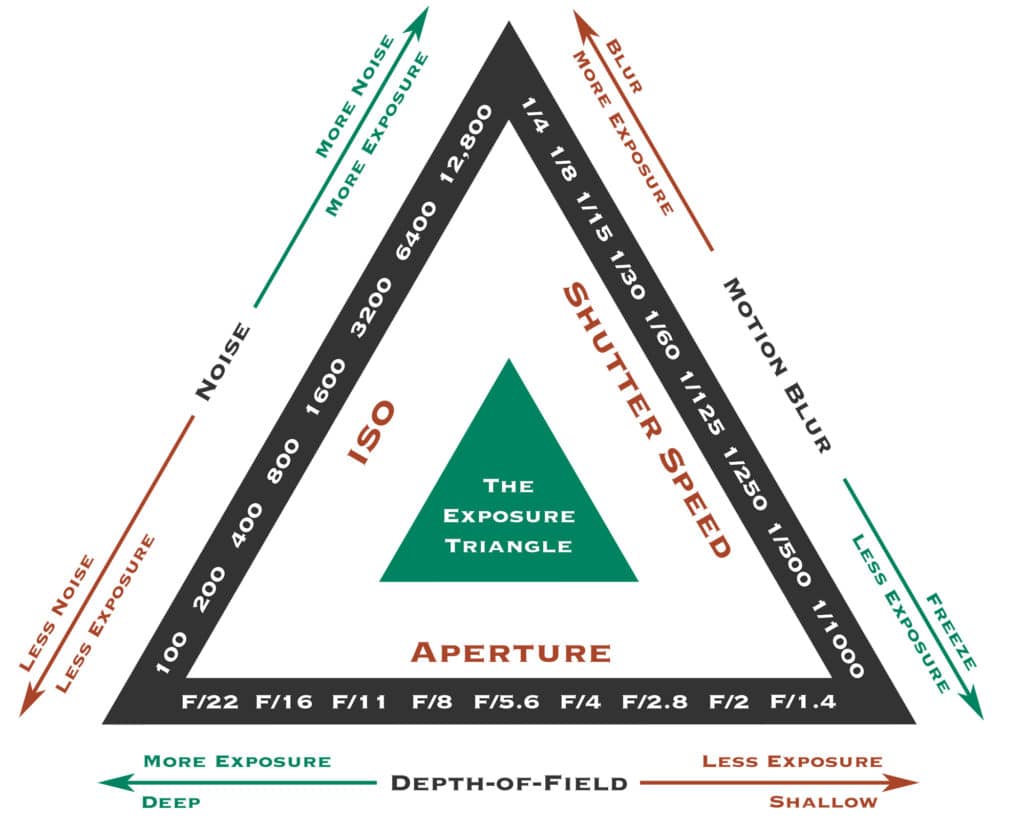
To “see” this, we can refer to what is known as the Exposure Triangle. On each side, we have one element of the exposure equation: aperture, shutter speed, and ISO.
“On a side note: I believe the Exposure Triangle is outdated and flawed.”
Your exposure will be brighter with a higher ISO number, slower shutter speed and/or larger aperture. As pictured in the exposure triangle (above).
If you increase the ISO from 100 to 200, then to get the proper exposure, you will need to set a faster shutter speed and/or a smaller aperture.
So, how do you know which exposure setting to select first?
It depends on the available light, whether or not you can manipulate the light and your creative vision for the shot.
That’s a lot to consider.
For now, let’s look at some general guidelines for choosing a specific ISO setting.
ISO Real-World Examples
Following, you’ll find some general guidelines, depending on the lighting situation, for setting your ISO.
“Keep in mind that there are other factors that will play a role in determining your ISO.
For example, your Shutter Speed and Aperture. If you require a high ISO, due to the low intensity of light, you can choose a lower ISO if you use a slower Shutter Speed. And/or by using a larger Aperture (like 2.8 or 1.4).”
Photos During Sunset
At sunset, the intensity of the light begins to fade. The lower to the horizon, the faster the intensity of the light will fade.
Typically, I’ll start with an ISO of around 200 – 400 (depending on the lens, creative settings selected, and intensity of the light). As the intensity fades I’ll increase the ISO accordingly.
Once I reach an ISO of 800, I’ll try and keep it there by shooting with a slower shutter speed and/or larger aperture.
Keep in mind there are other factors that will determine the ISO:
- your lens – a wide-angle allows more light to reach the sensor
- your desired creative choices in regards to shutter speed and aperture
- DSLR vs mirrorless
Photography on a Sunny Day
On sunny days, the light is pretty intense. However, the intensity can change throughout the day, even if it’s sunny all day.
You’ll find the sun to be brightest (most intense) at high noon. Before and after, the light is not as intense. Keep this in mind when shooting outdoors on a sunny day.
So, in general, you can shoot at a very low ISO. Like, 100 or 200. Earlier or later in the day, you may need to start shooting at ISO 400+.
Photography on a Cloudy Day
Shooting on cloudy days lowers the intensity of the light. This results in the need to use a higher ISO.
Typically, ISO 400+ is ideal…
…unless, of course, you use a slower Shutter Speed and/or larger Aperture.
Indoor Photography
Indoors is a bit trickier. The general rule is, the more intense the light, the lower the ISO you can use.
At home, on a bright sunny day, with lots of windows, you could probably use lower ISO settings. Maybe 200 – 400 would be an excellent place to start.
At home, on a cloudy day, may require a starting ISO of 400+.
At home, at night, with a few lights on will probably require starting at ISO 800+.
Night Photography
Night photography is always going to require a very high ISO.
Possibly 1600 or higher.
This can change based on your chosen Shutter Speed and Aperture.
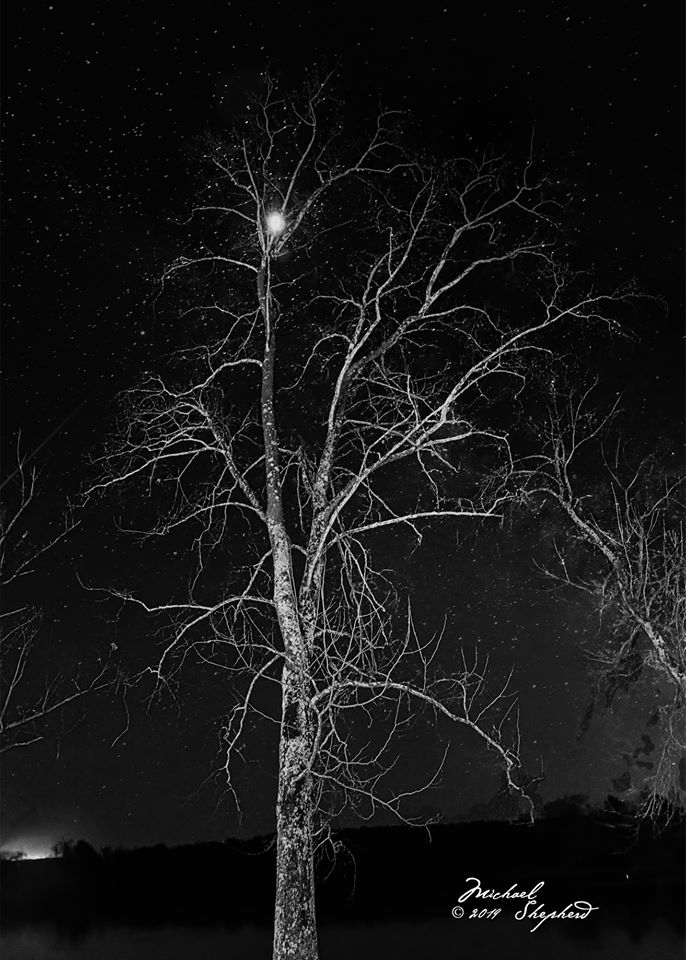
A happenstance shot ~ "Night Tree"
"While photographing a Christmas lighting display at a local lake, I walked near a tree and looked up.
Leaning up against another tree, I braced my camera, stopped down and held as still as possible.
It was pretty in color, but black and white conversion makes it even more dramatic."
Nikon D-850, f3.8, 1/10 sec ISO 8500.Michael Shepherd
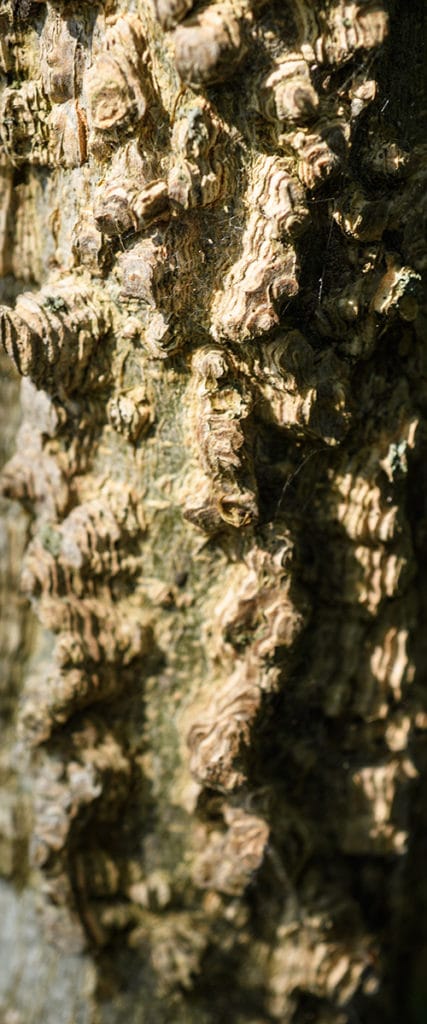
Tree Bark. I love capturing the textures of nature!
Final settings: Nikon D500 | 60 Macro | f/8 | 1/125 | ISO 200
What's Next?
Understanding the relationship between ISO, aperture, and shutter speed are crucial for two reasons:
- It will allow you to take creative control back from your camera and shoot manually
- It ensures you’ll nail the exposure in-camera and won’t have to fix it in editing software
But it’s going to take time + practice. Then, practice some more.
When it comes to selecting your ISO try using the lowest possible setting according to the lighting situation and your creative vision…
- Low-light - sunrise, sunset, stadium lights, and indoors will require a high ISO. Maybe 800+.
- Mid-range - cloudy days or under the shade of a tree. Roughly 400 - 800.
- Intense light - sunny, studio lights, etc. Start at the lowest ISO available on your camera. 100 or 200.
What is Aperture in photography?
What is ISO in photography?
What is Shutter Speed in photography?
What is White Balance?
If you have any questions about ISO, please post your comments below. Oh, and don’t forget to do the Pop-Quiz!
Thanks for reading and have an awesome day!









6 Responses
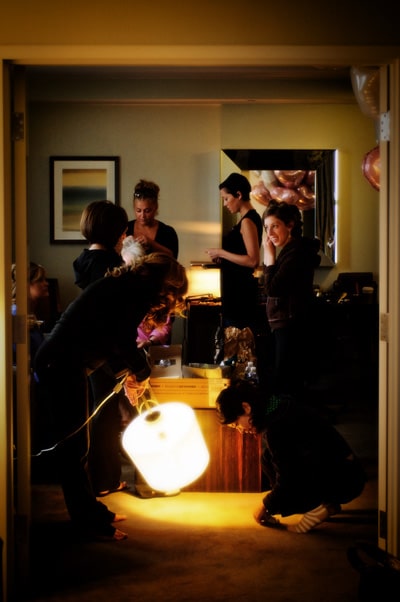
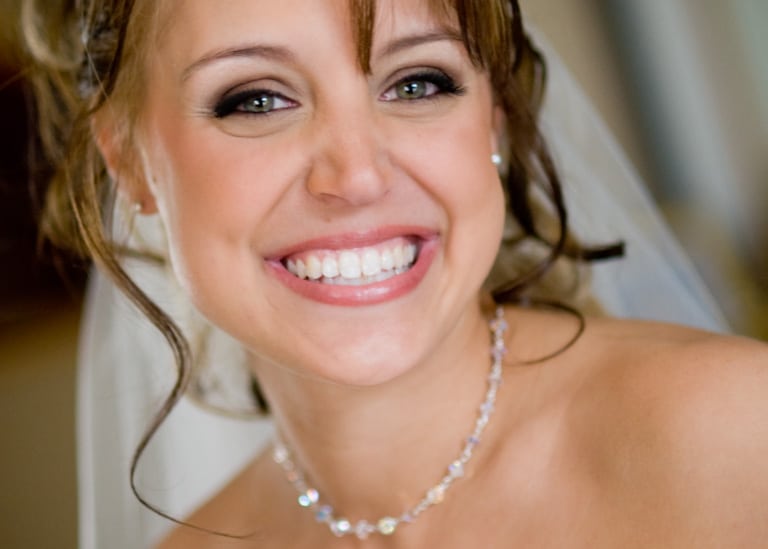
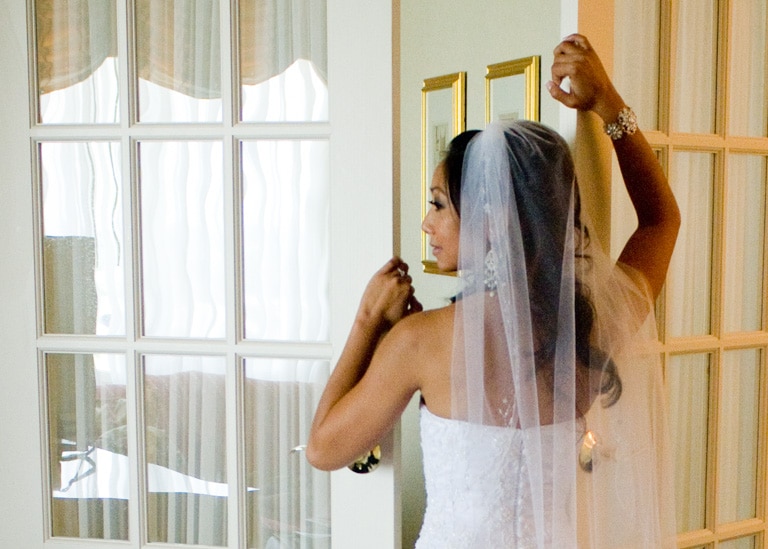
The wedding: The aperture was stopped down 2 full stops so the ISO would be 6400..
Your son: The aperture was stopped down 2 stops and Shutter speed increased 1 full stop for a total of 3 stops. ISO would be 1600
Your daughter: You could have left the shutter speed at 1/250 and changed your ISO to 400
Yes, you are correct on all three!
Yeeey 😀
1. My answer is ISO 6400.
2. My answer ISO 1600.
3. Change shutter speed to around 1/125s to lower ISO to 200.
Hey Mateusz, Yes, you are correct on all three.
However, for my daughter, I could have lowered the ISO to 400 and left the shutter speed at 1/250s. 1/125th of a sec increases the chances for a blurry photo. Although, ISO 200 would have resulted in less digital noise. But, you probably already know this. 🙂
Great article! Here are some practices of mine regarding ISO:
1. When shooting in a studio, using lighting, shoot full manual with fixed ISO (as low as possible to keep the image noise-free).
2. When shooting wildlife, I shoot in full manual, selecting my f-stop and shutter speed, but use Auto-ISO. The shutter speed is the most important of these since I want to avoid motion blur, and for very near or large subjects, I want to control the DOF. So Auto-ISO is the wildcard – I let it go to what it needs to in order to assure the results (good exposure) dependent on the first two values.
3. When using flash (off-camera), when there is little light and your aperture is as wide as it can be, your shutter speed is as slow as it should go, but your flash is not powerful enough, you can raise your ISO to boost the total exposure.