FREE Photography for Beginners Course
Subscribe
It's time to begin your journey in mastering your camera, and it starts with this photography for beginners course right here, right now, about the fundamentals of your camera.
This will be the foundation for every tutorial in this photography for beginners masterclass.
Regardless of your experience level, this tutorial is a must-watch.
I guarantee you will learn something new.
If you are ready to master your camera and create exceptional photos, let’s do it.
So, the critical ingredient for any photo you take is properly capturing the exposure.
So, what is exposure? Well, exposure is how bright or dark your image is.
If it’s too bright, you have an overexposed image like this one.
If it’s too dark, it’s considered underexposed, and your goal is to capture good exposure.
And here it is for this image.
And as you can see, it’s not too bright or dark.
So, how does exposure work, and how can you correctly expose your photos in a camera to create awesome images?
Well, first, you must understand, and I mean truly understand, exposure to master it.
And it starts with knowing the three camera settings that affect your exposure.
Those three camera settings are your ISO, aperture, and shutter speed.
So, let’s go over what each of those is right now.
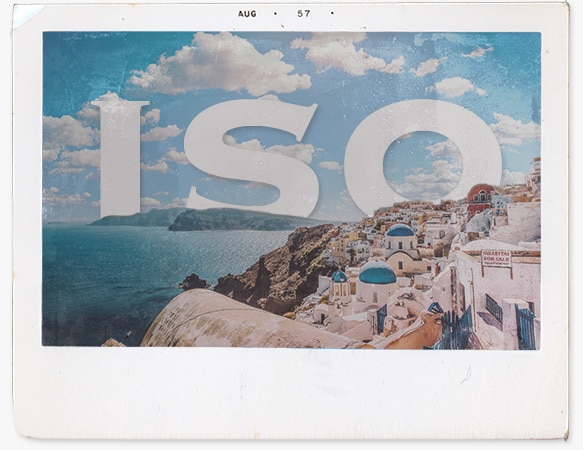
So ISO’s job is to make your available light source brighter if needed.
But how does ISO make your available light brighter?
I’ll let you know in just a second.
First, your ISO comes in standard options like 100, 200, 400, 800, 1600, and I think you get the idea.
Now, those numbers were all we had in the days of shooting with film.
In our current digital world, additional ISO numbers are now possible, like 250, 320, and 500, to name a few.
In essence, you adjust the ISO to ensure you have enough light to record your photo with the aperture and shutter speed required for your creative vision, and it starts with your camera’s sensor.
Now, unlike the days of film, your sensor is not sensitive to light. Instead, it makes available light brighter by amplifying it.
The downside to amplifying the light is the dreaded digital noise associated with a higher iso.
The higher the ISO used, the more digital noise your image will have.
So, let’s look at a couple of images to see the digital noise.
So, this image was shot at an ISO of 100 and has no digital noise.
I retook this setup with an ISO of 12,800, and you can now see the digital noise that looks like specs or grain, which degrades the image.
Now the question is, what ISO settings should you use and when?
That’s a great question, and you will learn that in an upcoming tutorial.
First, let’s discover what an aperture is.
So, the aperture controls how much light enters your lens and is passed into your camera.
And an aperture is a fancy name for waiting for it… a “hole?”
Yes! The aperture is nothing more than a hole in your lens.
Depending on your desired exposure, you can change the hole size to allow more or less light to pass into the camera.
So, the size of your aperture is designated with what is known as an F number, like F 2.8, F four, and F 5.6, and you’ll learn more about those numbers in an upcoming tutorial.
First, examine two images I took to demonstrate how the aperture affects your exposure.
So, for this image, I set the aperture to F1 0.4, which is the biggest hole for this lens.
And with it, I achieved a good exposure.
Then I retook this photo with the smallest aperture size for this lens, F 16.
And I kept the same shutter speed and ISO used in the first one.
The result is an underexposed image since less light traveled to the sensor.
If you’re wondering how F1 0.4 is bigger than F 16, hold that thought. You’ll discover why that is in an upcoming tutorial and learn the creative side of Aputures.
So stay tuned.
First, you must discover Shutter Speeds and their relation to your exposure.
The shutter speed is your final key to getting the proper exposure.
A shutter blocks the camera sensor until you press the shutter release button.
When you do, the shutter opens and allows the light coming through your lens to be recorded by your sensor, so you can control how long that shutter stays open based on your creative vision and the amount of light needed to create that image.
So, the key to controlling how long the shutter stays open is time, hence the term shutter speed.
You can set how long the shutter stays open in seconds or fractions of a second.
So, I’ve set my camera here to a shutter speed of six seconds.
And listen, when I click, the shutter is now open, and the sensor is recording light.
Wait for it. And that was the sound of the shutter closing.
I will change the shutter speed to two-thousandths of a second.
And listen, when I click this time, it is much faster than six seconds.
So here is an image that I had to use a shutter speed of 30 seconds to get good exposure.
Here it is again with the same ISO and aperture, but this time, I set the shutter speed to six seconds, which resulted in an underexposed image.
Now, there is more to your shutter speed than just getting the correct exposure, just like with your aperture. It provides creative options, too.
Before we get into that, let’s dive deeply into ISO to discover what ISO number to use and when, plus much more.
So, if you are ready to elevate your photographic skills, click this link to get started.