Dynamic Range vs Tonal Range for Exceptional Images
Subscribe
We will take your photographic knowledge to the next level in this and the next two following tutorials since they are the foundation for transitioning from auto to manual modes.
I guarantee shooting in manual mode will be easy if you watch this and the following tutorials.
And it all starts with understanding photography’s dynamic and tonal ranges since they relate to your exposure.
You’ll soon discover your camera’s limitations to the Dynamic Range and how to overcome them to get the exposure you want.
If you are ready to discover the dynamic and tonal ranges, let’s do it.
Dynamic Range and Tonal Range: What are they?
Well, let’s find out by exploring dynamic range first.
In essence, the dynamic range and photography refers to the range in which your camera can successfully capture a scene’s brightest and darkest areas without losing detail in nature.
You could say there’s infinite brightness from blacks and whites and grays in between.
This brightness range can be measured in stops.
We did cover stops in photography previously, so if you need a reminder, check out this tutorial here.
Now, your eyes and your camera cannot see every level of brightness depending on the intensity of the light you’re seeing when it comes to your eyes.
You can see around 24 stops of brightness levels. High-end cameras range from 10 to 14 stops, and lower-end or older cameras like my Fuji S two, are closer to seven stops.
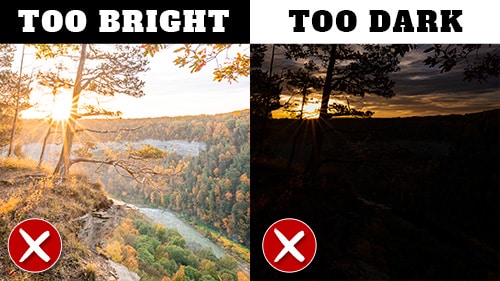
That means your camera is not capturing detail in the darkest areas of the shadows or the brightest areas and the highlights.
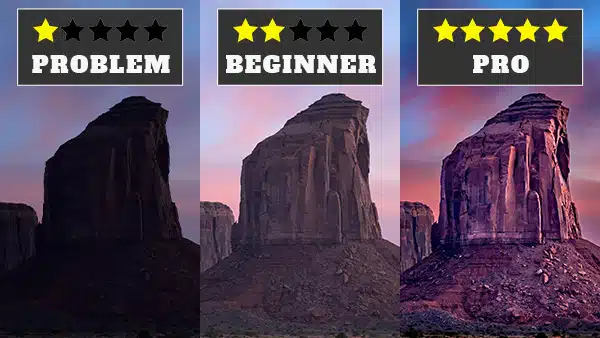
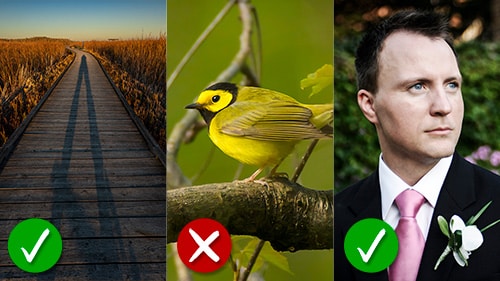
Now, if you expose for the highlights, you’ll capture those details, but we’ll lose details in the shadows.
This is known as exposing to the right, which is better than telling to the left or for the shadows.
The reason is it’s easier in post-production to bring back some shadows versus highlights. Now, let’s compare the dynamic range to the tonal range.
So the tonal range also refers to the brightness levels of a scene, but it is directly related to the tones captured by your camera.
Here’s another way to think of dynamic versus tonal range. Imagine your Ferrari has a range of zero to 255 miles per hour. That’s its dynamic range.
Imagine your spouse installing a speed inhibitor and changing the range from zero to 60.
That is the tonal range since it’s been limited to a smaller range.
Now that you know your camera has limitations, here are some solutions to overcome them. It is unable to give you the exposure you desire.
One thing you can do is control the light by diffusing it or by adding more light to the shadows.
Now, if you are a landscape photographer, it’s going to be more challenging to control the light in that way.
So, you can use a polarizing filter or a graduated neutral density filter that will darken the sky and your landscape.
If you have one like this where the entire filter is dark, they do make graduated ND filters where only a portion of the filter is dark.
That way you can darken the sky only and bring the dynamic range into a smaller range for your camera to capture all the detail in that dynamic range.
Or what you can do is what is known as HDR photography, which consists of taking three exposures, one underexposed, one overexposed, each by one stop, and then a third exposure in between.
Then in post-production, you can merge the three exposures to get more detail in the shadows and highlights.
If none, you need more than options in your situation. You must decide what is more important in the scene or easier to deal with in post-production.
Then, you’ll have to be exposed to the left if the shadows are more important or exposed to the right, which is my recommendation.
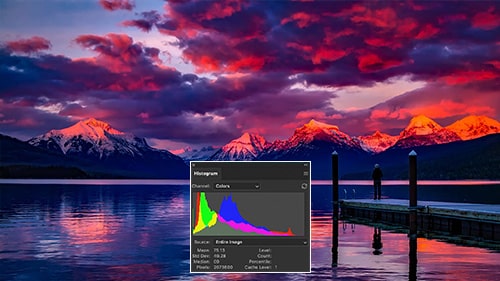
Now, how do you know what tonal range you are capturing?
Although your camera doesn’t have a gradient tool, it does have another tool that can visually show you the tonal range you’ve captured and whether or not you have the correct exposure for that scene.


