THE Topaz Photo AI Quick Start for beginners
Subscribe
👉️ FREE TRIAL Topaz Photo AI (I use this): https://bit.ly/3Xn9pmo
Hello and welcome to THE Topaz Photo AI Quick Start guide for beginners to get you up and running as quickly as possible.
Ok, If you don’t have Topaz Photo AI yet, you can download it for free to try it out on your images, and you’ll find the download link in the description below.
LAUNCH
Ok, when it comes to using Topaz Photo AI, you can use it as a stand-alone app that launches without needing Photoshop or Lightroom.
Or you can open directly from Lightroom by right-clicking on one image or a selection of multiple images and then select “Edit in Topaz Photo AI,” then, from this window, you’ll have some options to choose from. When you click Edit, “Topaz Photo AI will launch” and open your images.
You can also launch from Photoshop by going to Filter, Topaz Labs, and clicking on Topaz Photo AI.
OPEN IMAGES
If you’re using Topaz Photo AI as a stand-alone app, you can drag and drop your images to the interface or browse to your folder.
NAVIGATOR
Ok, so, as you can see, your image fills up most of the Topaz Photo AI interface, and to the right is where all the magic happens.
At the top is your Navigator which will show the entire image, but when you zoom in, you’ll notice an outline of a rectangle inside, which you can click on and move around to, well, Navigate around your image.
AUTOPILOT
Under that is your AutoPilot, and this is the brain of Topaz Photo AI. So, AutoPiolot will analyze your image immediately after it’s opened or when you select one from the thumbnail previews if you have multiple images open.
And it’s going to automagically apply adjustments it thinks will improve your image. The adjustments it suggests will be based on what’s in your image and the quality of the file.
For example, in this photo, AutoPilot says that a subject was detected, and if you hover over the word Subject, it will reveal the Mask of that subject. And under that, it says that an edit to improve the image quality was applied, and in this case, it’s Noise Reduction.
For this portrait, it also detected a subject, and the AI detected that the subject is out of focus, and it enabled the sharpening module to correct blur in the image.
IMAGE QUALITY
So, think of AutoPilot as a starting point, and within the Image Quality section, you have four modules where you can change the suggestions that AutoPilot gave you.
Clicking on a Module will reveal the different options and sliders to precisely control the intensity of that edit.
DENOISE
So, removing digital noise will eliminate two kinds; color and luminance. Autopilot will then detect whether the amount of noise is Strong or Normal. Strong, of course, will be more aggressive in removing the Noise.
For this image I shot this at ISO five thousand, and it did a really good job removing all the digital noise.
However, I tend to find the noise removal to be too aggressive for my taste and will usually stick with Normal and will also lower the strength that Autopilot suggested. So, you’ll have to play around with these settings to see what works best for your images.
Ok, if you find that the Noise removal is smoothing out the detail, even at these lower settings, you can try to bring back that detail with this slider.
SHARPEN
Sharpen has three options for making your images sharper. The first is Standard, and I’ll usually use this on images that are a tad soft due to using a zoom lens vs a prime lens.
For this image, I again had to use a very high ISO, and I think for this one, it was around thirty-two hundred. And because I used a zoom lens, it added to the overall softness of the image, so since Autopilot didn’t pick up on that, I added some sharpening which vastly improved the photo.
Ok, next is Lens Blur which is awesome for fixing images that are out-of-focus due to missing the correct focus point. For example, in this image of my daughter, I failed to focus on her eye, and it’s blurry, as well as parts of her face.
With Lens Blur, I was able to fix and save the image. How. cool. Is that? I love it.
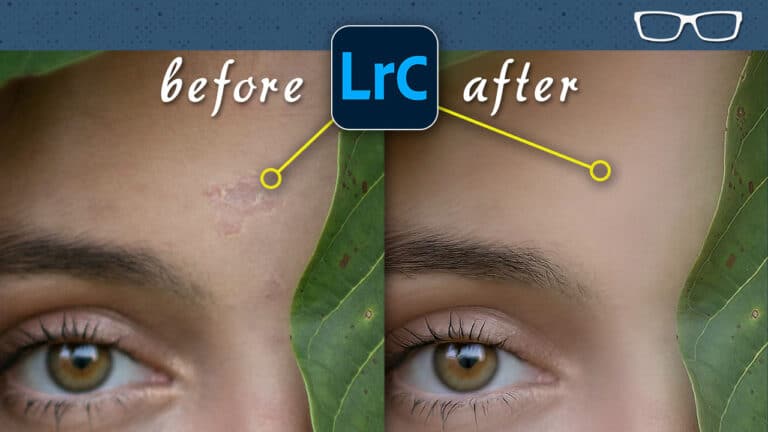
Now, real quick, you may have noticed in this image she has a huge piece of dry skin in the middle of her forehead, but it’s gone in this edit. How did I do that? Well, I have a video tutorial showing how to retouch images in Lightroom, and you’ll find the link to that in the description below.
I also love this next sharpening feature which will correct images that have Motion Blur. And here’s another image of my daughter from around fifteen years ago, and my shutter speed wasn’t fast enough, creating a motion blur on her face, arms, and clothing.
But Motion Blur came to the rescue, and now it’s a keeper.
RECOVER FACES
Recover Faces will dramatically improve low-resolution files with faces, and it’s not recommended for high-quality files.
Here’s a photo that I created back in 1990, and AutoPilot detected this as a low-res file with a face and suggested these settings to recover the face. And it did a pretty good job.
ENHANCE RESOLUTION + UPSCALE
Enhanced Resolution works in conjunction with Upscaling and, when enabled, will generate new pixels for high-quality upscaling. And you have three options to choose from, and I usually try all three to see which one will give me better results.
And for this image of our son that I created around twenty years ago, which is a very teeny-tiny file at four hundred by six hundred pixels, Topaz Photo AI enhanced the overall image. And if we take a look at the Upscale Module, it shows the new resolution is four times larger, and if I want to increase six X, we can do that with Max.
You can also type in a specific resolution if you need that for a specific project, and when you hit your tab key, the other side will auto-update to keep the image with the same aspect ratio.
CROP
You may have also noticed this Crop button, and once clicked, the Crop module will open so you can crop your image based on the aspect ratio you need, or you can grab a side or corner to crop in tighter. You can reposition the crop by clicking and dragging to a new position, and once you Apply the Crop, your image will be updated.
SAVE
Once you’re happy with your editing adjustments, it’s time to save your work by clicking on the Save button. From here, you have some options under Export Settings. You can add text before or after the file name, choose your folder location to save the files to, and you can choose your file format.


