How to Create New Documents in Photoshop
- Post by Parker: 30 Years experience!
- No Comments
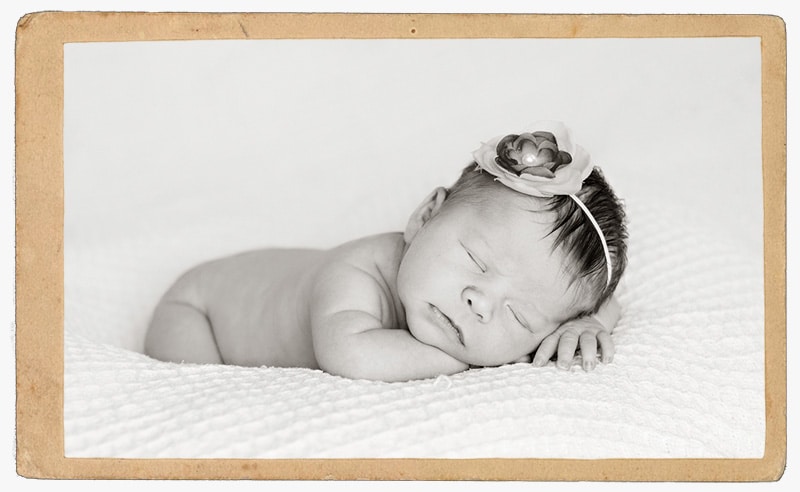
Table of Contents
For Graphic Designers
Creating a new document in Photoshop is required for design type projects.
Although, you could start by opening an image and adding the graphic elements to it directly.
However, if you want to start with a clean slate (or a clean canvas), you’ll need to create a new document in Photoshop.
Once you’ve created your new document, you can then add photos, text, graphic shapes, and more.
Plus, chances are your design project will require a specific size. For example, business cards, brochures, and more will require a custom-sized document.
In these cases, you’ll have to create a new document in Photoshop to get started.
For Digital Artists
Another use for creating a new document is for digital painting, illustrations, and other types of artwork. Photoshop has a massive library of built-in brushes.
If that wasn’t enough, you could find free brushes from other artists to install in Photoshop.
Therefore, you’ll need a blank canvas to get started.
For Photographers
Another reason why you may want to create a new document: Photo Collages.
As a photographer myself, my clients love photo collages. It’s an easy up-sell.
Plus, I like to create photo collages for advertising too! Especially on Pinterest.
Ok, so those are several great reasons why you’ll want to create a new document in Photoshop. Can you think of more? If so, let us know in the comments below.
When Should You Not
Create a New Document?
Well, if your primary focus is photography and you have no desire to do your own “design” work, then you may never need to create a new document.
Oh, and here’s why you won’t need to create a new document. When you open an image in Photoshop, the dimensions are determined by the file when it was created.
Whether by you… during capture with a camera, smartphone, tablet, et.. or by the person that gave you the photo.
Think, stock photos: you can buy the same photo at different dimensions.
Plus, the photo itself IS the document!
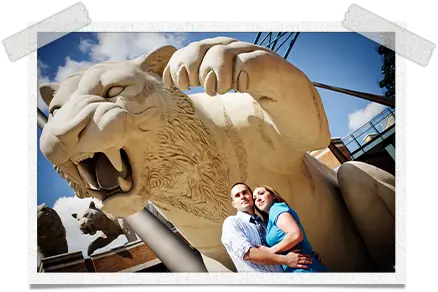
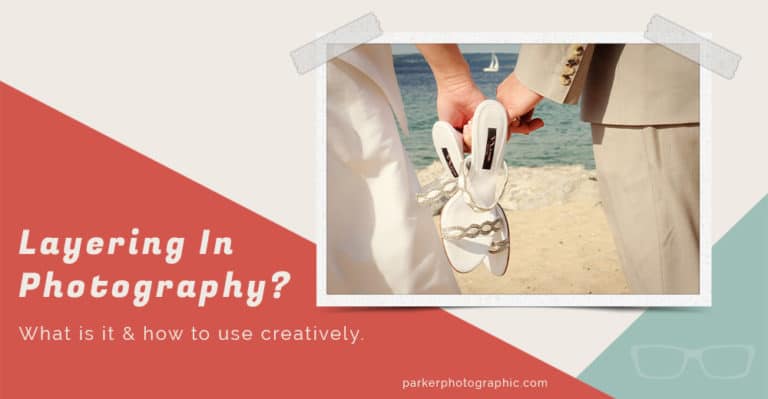
The photo by itself was its own document. The frame and tape were created in separate document. Then, I created a new third document to combine the two together.
I could have used the second document to add the photo to.
However, I wanted to keep it as a “template” to use with other photos. Photo by Parker Photographic
How To Create a New Document In Photoshop
To create a new document, in Photoshop, you’ll need to use the “New Document” dialog box.
There are a few ways to get to it. And, the dialogue box comes in 2 flavors: Legacy & New.
First, let’s explore all the different ways to access the new document dialogue box.
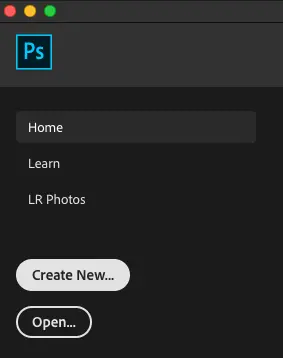
One method we discussed in the Photoshop Home Screen guide. Which is to click on the “Create New” button (from Photoshops home screen).
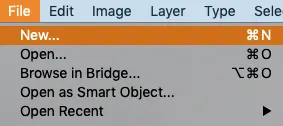
Another way is an old-school method: by accessing the Photoshop menu. Go up to File and select “New.”
You can also use a keyboard shortcut. Which is Command + N (Mac) or Control + N (Win).
Whichever method you use will result in displaying the New Document dialogue box.
However, what your dialogue box looks like (and the options available) will be dependent on your Photoshop version and/or your preference settings.
2 New Document Dialogue Windows. Which One Should You Use?
When creating a new document, your dialogue box will look like 1 of the 2 following options…
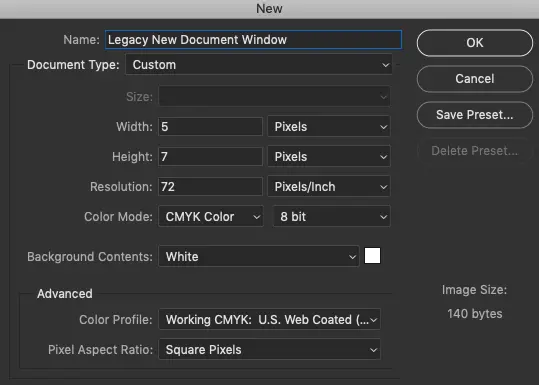
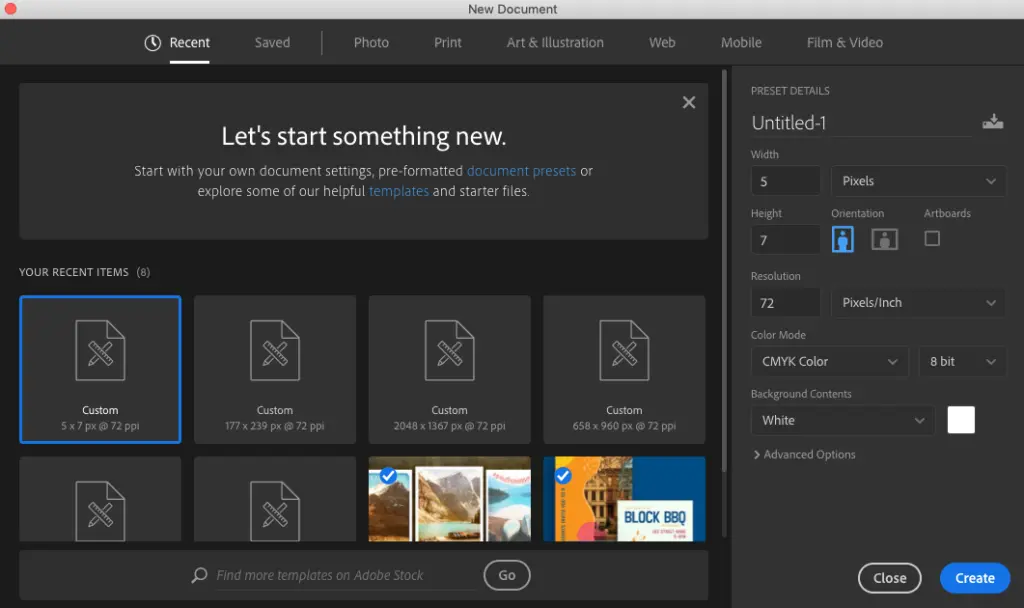
Both pretty much have the same features. So, which one should you use? It depends.
If you have Photoshop CC 2017 or older, you will not have an option to use the “New” dialogue window.
If you have the latest version of Photoshop, then you can choose one over the other.
Overall it’s just a personal preference. I’ve been using Photoshop since 1991. So, personally, I prefer the Legacy window. I’m accustomed to it.
Plus, I find the New window tends to load much (much) slower vs. Legacy. However, recent Photoshop updates had made it load faster vs. when it was first released.
Let’s explore both, and then you can decide for yourself which one to use.
Both of the dialogue windows have practically the same features. How they are displayed is the main difference.
Therefore, we’ll cover the features in detail in the “New” dialogue window section (coming up next) and won’t cover them again in the “legacy” section.
So, I recommend reading through the following section for detailed info on creating a new document.
Then, we’ll cover the differences between the two in the preceding section.
Using The “New” Document Dialogue Window
Depending on when you purchased Photoshop (and the version), this window (see image above) may be the one you see by default.
If so, and you’ve used Photoshop before you may wish to use the Legacy view.
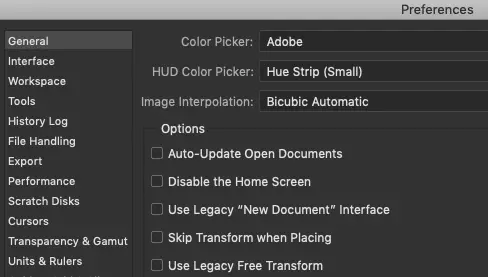
Here’s how: go to Preferences > General.
Look for “Use Legacy New Document Interface.” Turn it off by clicking on the little box to the left.
Click ok and start creating a new document. The “new” window should now be visible.
Recent
Your New Document window most likely looks much different vs. mine.
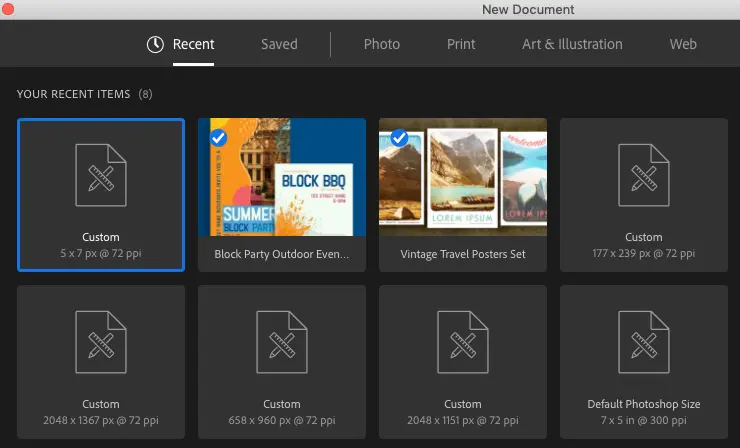
By default, the “Recent” option is selected, and it shows the recent documents created in the interface (below the menu panel).
For my new documents, I create a custom one every time. I know what size I need for specific projects and prefer to input the settings manually.
Personally, this is quicker than searching for the right template.
Your interface probably has a bunch of different templates to choose from. If you see one that will work for your project, select it, and click create to create a new document.
Saved
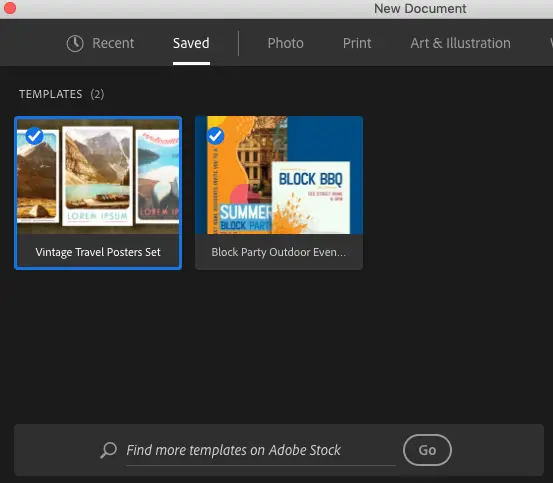
This option will show all of your saved presets (document templates). Either the templates you created, purchased from someone else or downloaded from Adobe Stock.
At the bottom of the window, you can “Find more templates on Adobe Stock” by doing a search. Try it out.
Photo
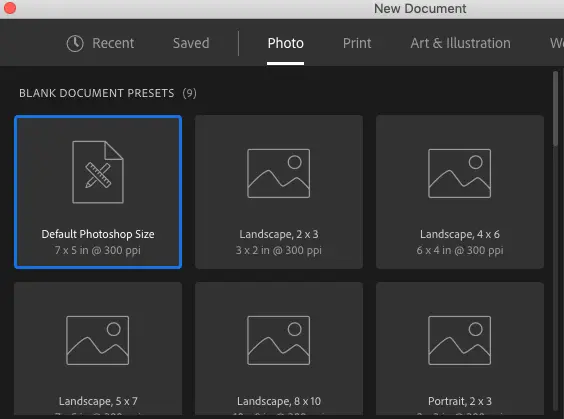
A list of 9 (at time of writing) popular templates for photo prints.
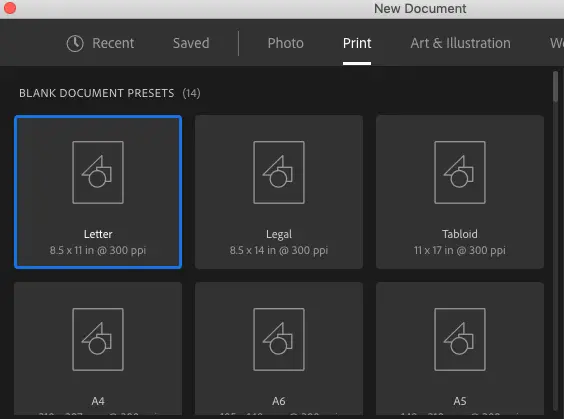
14 different sizes for your graphic design projects. The sizes listed are the most common types of printed documents.
Art & Illustration
6 Blank document presets for your artwork projects.
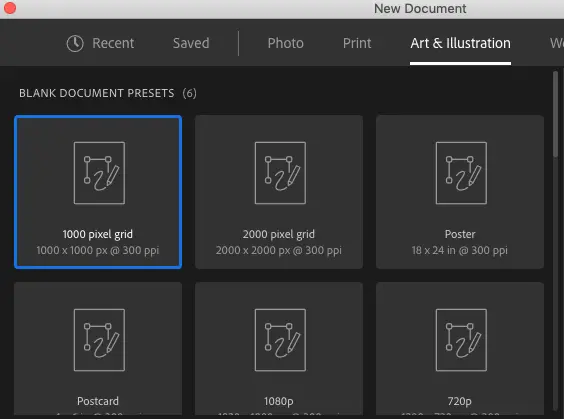
Web
Have a specific web design project you need to work on? Check out this option for 9 popular web sizes.
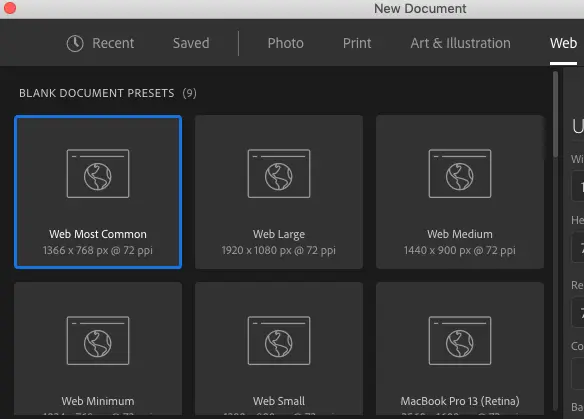
Mobile
Web and app designers have specific sizes for mobile applications. If this is you, check out the 28 included presets.
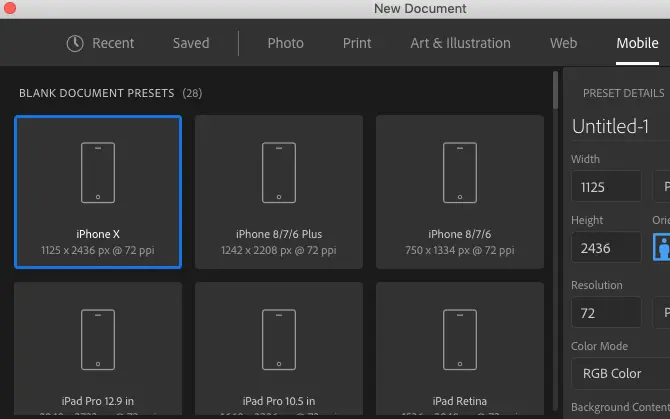
Film & Video
Working on a file and/or video project? If so, Adobe has you covered with 25 pre-made presets.
Know the exact dimensions needed for a specific project?
Perfect. Just type in the Width & Height as needed. Oh, and don’t forget to select Pixels, Inches, or any other measurement you require.
Just click on the drop-down menu to the right of (the input box) Width & Height.
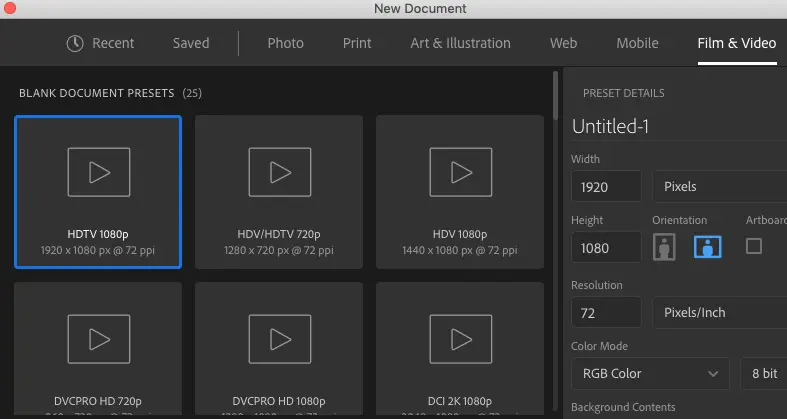
Resolution
Resolution is also an essential requirement for your new document. Get it wrong, and you may have to start your project over.
Hint: Web-based projects should be set to 72 dpi. Print-based projects should be set to 300 dpi. In most cases.
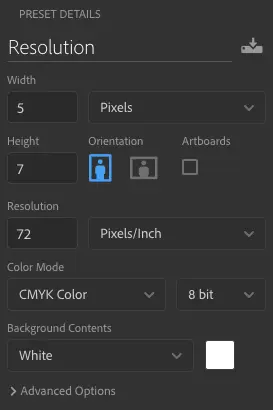
Color Mode
5 different options to choose from. Which one should you choose? Well, it depends on the type of project.
CMYK should be selected if your document will be printed via a printing press.
RGB Color should be used for your other types of projects.
The other 3 projects you may rarely use. In fact, in 28 years I’ve never used them!
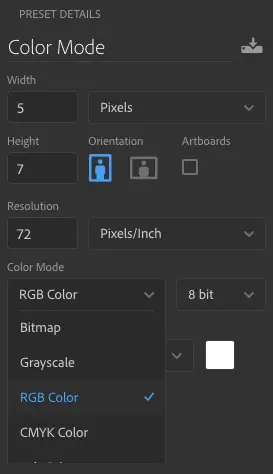
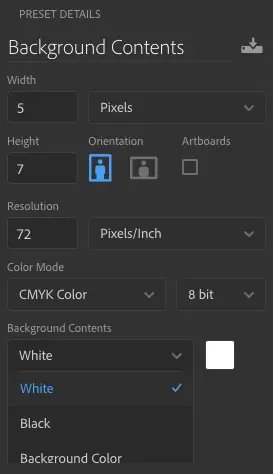
Background Contents
The default option is set to White. In other words, your new canvas color will be white.
Desire a different color? No worries. Just click on the drop-down menu and choose from one of the 4 options.
Or, if you need a specific color, click on “Other.” This will bring up the “Photoshops Color Picker” window.
The other 3 projects you may rarely use. In fact, in 28 years I’ve never used them!
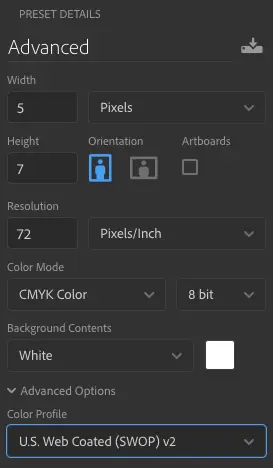
Advanced
Here, you’ll find, well, advanced options.
Until you become more familiar with Color Profiles and Pixel Aspect Ratios, the default options are sufficient.
Using The Legacy New Document Dialogue Window
By default, chances are you’re seeing the “legacy” window when creating a new document (depending on your version of Photoshop). If not, you can easily switch to it via preferences.
Here’s how: go to Preferences > General.
Look for “Use Legacy,” “New Document,” and “Interface.” Turn it on by clicking on the little box to the left.
Click ok and start creating a new document. The legacy window should now be visible.
Now, let’s take a look at the options we have to create a new document in Photoshop.
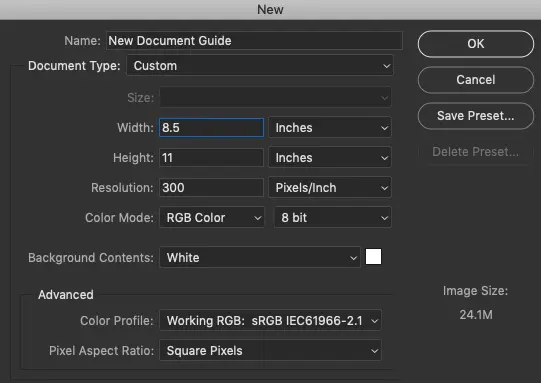
First, let’s give our new document a name. By default, the field is highlighted, and you can begin typing immediately. I’ll name my document, “New Document Guide.”

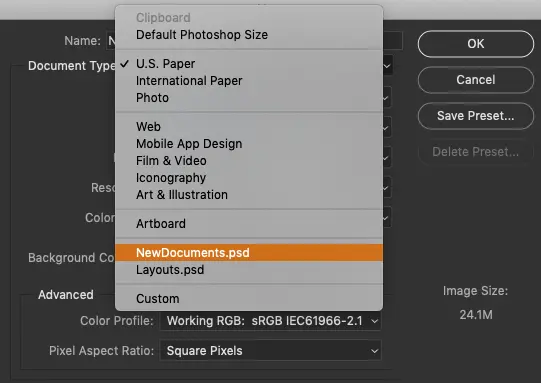
Below that, you’ll find “Document Type.” From here, you can choose pre-made document templates or presets.
Click on the drop-down menu labeled: “Default Photoshop Size.” If you see something else, that’s fine. Click on it either way.
The options are divided up into 6 categories:
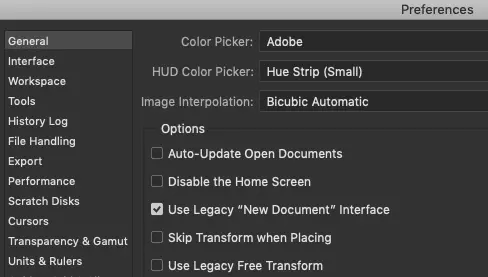
Switch to the “Legacy” new document window by clicking on the box, as shown in the image above.
Default or Clipboard
The default dimensions are 7 in’ wide by 5 in’ tall at a resolution of 300 dpi.
If you copy something like an image to your clipboard, you can create a new document that will match the dimensions of the picture.
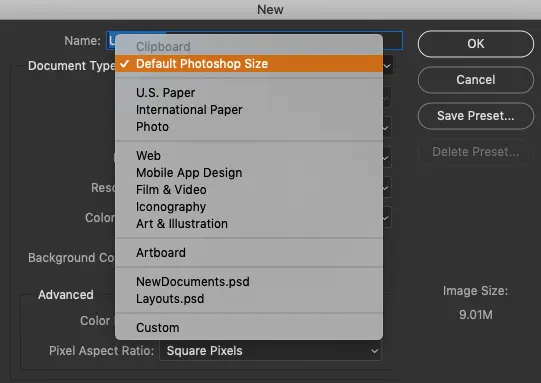
6 main categories to choose from.
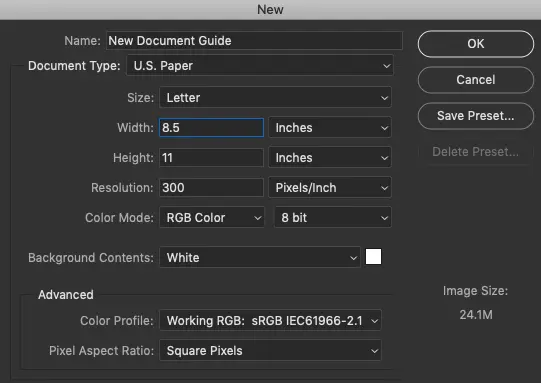
Type of Paper
What kind of paper will your document be printed on?
Choose one of the 3 options. Once you do, the drop-down menu (just below it) will allow you to choose the “Size.”
Select the size needed for the project, and the Width + Height will be updated accordingly.
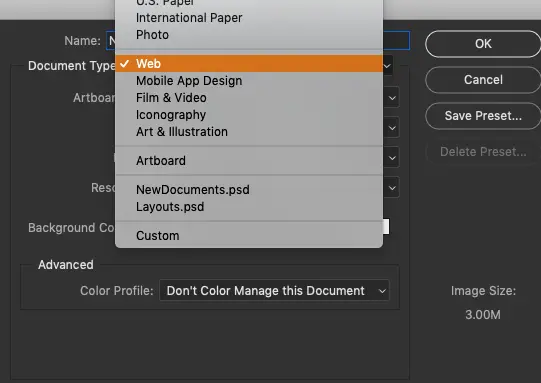
Specific Projects
This section includes pre-made templates for particular types of projects.
Select your project type, and the options in the “Size” will update with new options according to the kind of project.
Again, the Width & Height (and the resolution) will adjust based on the project type.
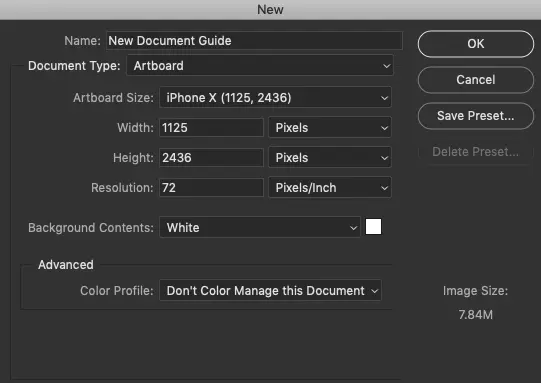
Artboard
This is an advanced type of document. It’s used mostly by graphic designers that need to design multiple documents at different sizes.
Recent Documents
This is a list of recent documents, and selecting one will create a new document of the same size.
Custom
Nothing to see or do here. If you decide to update your dimensions, resolution, etc. manually, then disregard these 6 categories.
Creating a Custom New Document
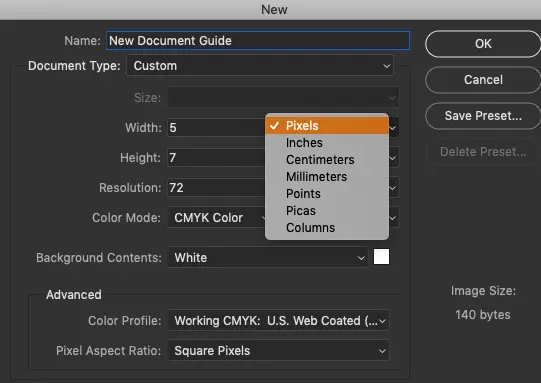
Do you know the exact dimensions needed for a specific project? Perfect.
Just type in the Width & Height as needed. Oh, and don’t forget to select Pixels, Inches, or any other measurement you require.
Just click on the drop-down menu to the right of (the input box) Width & Height.
Resolution
Resolution is also an essential requirement for your new document. Get it wrong, and you may have to start your project over.
Hint: Web-based projects should be set to 72 dpi. Print-based projects should be set to 300 dpi. In most cases.
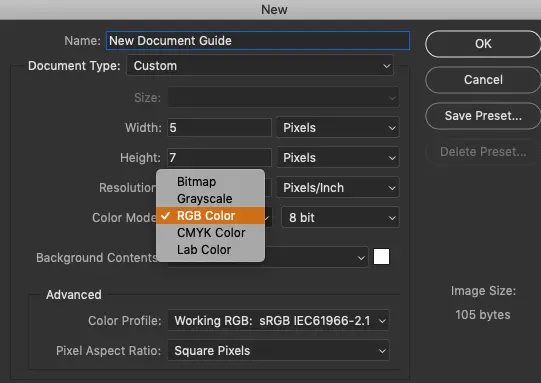
Color Mode
5 different options to choose from. Which one should you choose? Well, it depends on the type of project.
CMYK should be selected if your document will be printed via a printing press.
RGB Color should be used for your other types of projects.
The other 3 projects you may rarely use. In fact, in 28 years I’ve never used them!
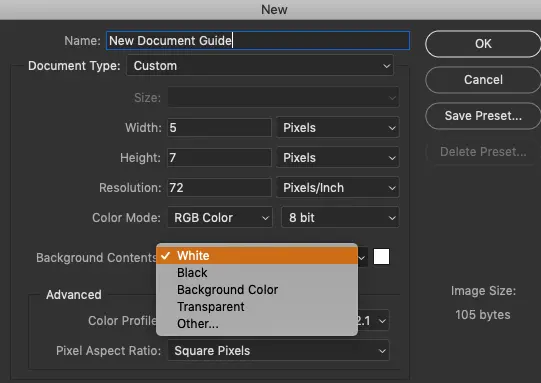
Background Contents
The default option is set to White. In other words, your new canvas color will be white.
Desire a different color? No worries. Just click on the drop-down menu and choose from one of the 4 options.
Or, if you need a specific color, click on “Other.” This will bring up the Photoshop Color Picker window.
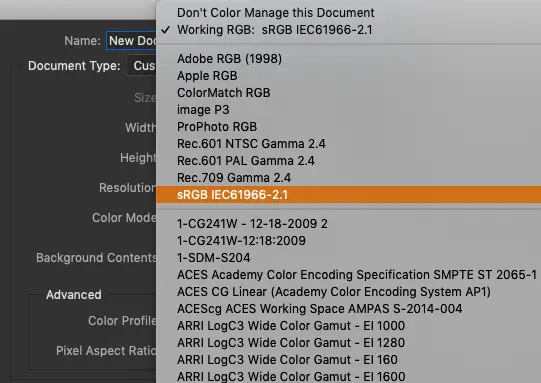
Advanced
Here, you’ll find, well, advanced options.
Until you become more familiar with Color Profiles and Pixel Aspect Ratios, the default options are sufficient.
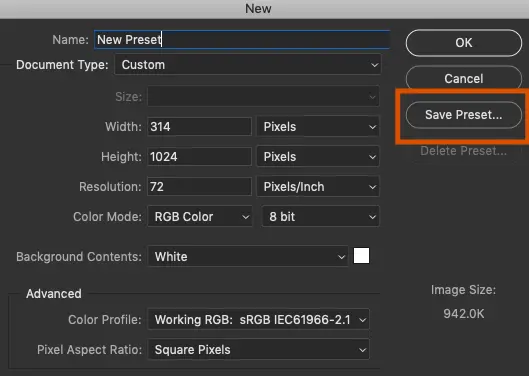
How To Save a Preset
There may come a time when you may wish to save a specific document (and all its settings) from being re-used at a later date. This way, you don’t have to go through and adjust all the settings.
When saved, it’s referred to as a “preset.”
To save a preset, click on the little icon to the right of your documents’ name.
Give your preset a name and click the “Save Preset” button. You’ll find your new document presets under the “Saved” tab (top of the window).
Now What?
It’s time to go see the wizard? Nah, time to check out the next chapter…
Looking for Photoshop alternatives?
