How to remove anything in Lightroom
Subscribe
Today I want to show you how to remove anything in Lightroom.
And we’re going to take a look at three different images so I can share with you some tricks and tips to get the most out of your photo editing tool.
So you can remove anything in Lightroom. And we’re going to start off with this image right here.
And what I like to do when editing my photos is remove any distractions that take away from the main subjects, in this case, these two hummingbirds.
In the background, we have these very busy flowers and this bright branch.
We can remove those in Lightroom without the need for Photoshop with the photo editing tools that are built into Lightroom.
If we come over to the toolbar here and click on this bandaid icon, that will reveal the three photo editing tools that will help you remove anything in Lightroom.
The first one is Content-Aware Remove. Next, we have Heel and then Clone.
Each one of these will remove anything in Lightroom slightly differently from the other. So if you’re still waiting for the results you want from one, you can try another.
However, I find the “Content Aware” Remove tool works 90% of the time, and I will share some tips and tricks on how to get the most out of Content Aware.
So you can remove anything in Lightroom. I hardly ever find myself switching over to one of these other tools.
Once you know the tricks to using the Content-Aware tool, you’ll probably won’t be using these either.
Let’s go ahead and start off with these flowers here. I will paint over the flowers to tell Lightroom this is the target area that needs to be retouched.
And then, it’s going to analyze the pixels, textures, colors, and other parts of the image, and it will try to find the best match to cover up the flowers.
Once I release it, it will start analyzing, and it doesn’t take long to find those pixels to remove the flowers. How cool is that? I love it.
Now, as I said, it’s not perfect. It looks like it’s picking up a part of the branch from over here.
We need to go over that area again and maybe down here. And I also need to do one more click right here.
You may need to go over the area being retouched two, three, and sometimes more to get the desired results.
All right, let’s try and get rid of this branch.
And I’m going to try and do this in one brush stroke. All right, so the branch is gone.
However, there’s an edge here where that branch used to be.
So again, I can come in here and add additional brush strokes along this edge, either in one brush stroke or multiple brush strokes, which sometimes works out better versus trying to do it all at once.
Now, you can do some other things to get the desired results.
So I will show all those brushstrokes by pressing the letter “H” because I want to delete all these and start over.
Well, you can click on one of these icons to select that brushstroke, and then you can press your delete or backspace key to get rid of that brushstroke.
But let’s say you want to eliminate all of them, which I do in this case.
If you hold down your alt or option key, you’ll get your scissors tool, and then you can click and drag around them to delete all of them simultaneously.
As I mentioned before, you should apply your edits in smaller sections of that element to get the desired results.
So I will press “H” again to hide them, and then I can continue working in smaller sections of the branch.
Now there’s another thing you can do to help Lightroom retouch your image: give it a little help.
So instead of relying on Lightroom to pick out the colors and textures in your image, you can give Lightroom a specific target.
For example, we may want to target this area of the image to cover up this part of the image.
If you look at your tool panel here, you can see a message that says command plus drag on the photo to select a custom source.
Press your Command or Control key, and it will switch to a different tool, allowing you to click and drag out an area to target.
Lightroom will then analyze the pixels and inside of this box to cover up that last brushstroke.
Sometimes that will give you better results. It will take several more strokes to get rid of that branch, but you know how it works now.
Let’s take a look at another image.
Let’s see if we can use Content-Aware to remove blemishes.
So I will resize my brush size here with the scroll wheel on my mouse.
And I will make that brush size a bit larger than this blemish.
And because it’s round, all I have to do is click once, and it will magically disappear.
Let’s see if we can eliminate this little stray hair here.
I will go ahead and paint over the hair just like so.
And then Lightroom should magically remove it. All right, so that was a pretty easy edit as well.
Let’s see if we can do this large blemish here and if Lightroom can eliminate this more complex type of blemish.
And let’s see, and boom, it’s gone.
Now remember again, sometimes you need to click in the area a couple of times to help blend in those pixels.
Alright, now let’s check out the last image here. And I want to get rid of the bald eagle this time.
So if I use a small brushstroke around the eagle with a background like this, it will create some feathering around that area and won’t completely remove the Bald Eagle.
So in this case, I need to use a very large brush and select a lot of the background with the bald eagle to eliminate that feathering that could occur.
So I will create a big brushstroke like this, and once I release it, it should remove the bald eagle.
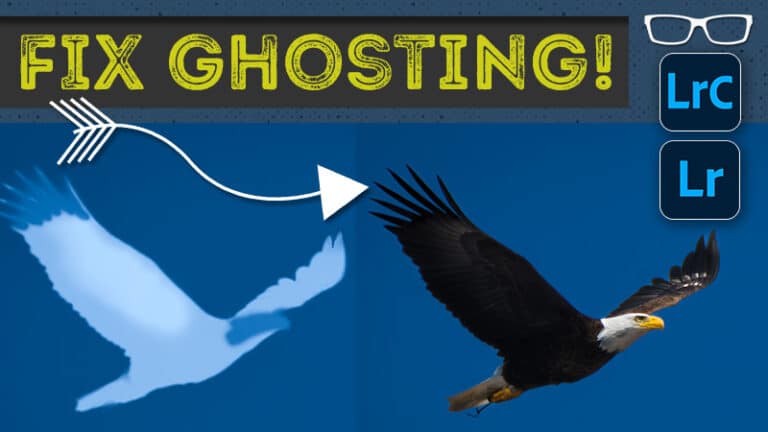
All right, the eagle is gone, but the ghost of the eagle is still there.
So why is this happening?
Why do I have a ghost of the eagle?
To find out why and how to avoid this, if you have this ghosting problem, you should watch this video next to learn how to eliminate ghosting with retouching.


